
How to Read Gunite Pool Plans Before Layout Approval
A pool can look perfect on paper and still leave too little room beside your patio doors. Before approving gunite pool plans, confirm both the pool's measurements and how the surrounding space will work.
Your approval should reflect clear, documented choices , including depths, seating, equipment placement, and finished heights. Start with the property, then review the drawings with your designer until every feature has a defined location and purpose.
Start with the Site and Property Survey
The pool outline is only part of your backyard layout. Property boundaries, existing structures, and site restrictions determine where that outline can go.
Confirm the usable area and constraints
Compare the proposed layout with the property survey. Ask your designer to identify property lines, easements, setbacks, and any utilities that affect placement.
Don't assume an open stretch of grass is available for construction. Your designer should confirm the applicable restrictions and explain how they affect the pool, decking, and related structures.
San Juan Custom Pools & Spas' guidance on property survey checks explains why usable space comes before choosing a pool size. Resolve survey questions before approving a layout that depends on them.
Check orientation and everyday access
Trace your route from the house to the pool, spa, and equipment area. Then consider furniture placement, patio doors, and the proposed screen enclosure.
Check whether steps or a sun shelf interrupt the swimming area you want. Also review the spa's position relative to privacy, views, and outdoor seating.
Ask the designer to identify tight areas on the drawing. A pool may fit within the property while leaving an awkward walkway or limited room for lounge chairs.
Read Gunite Pool Plans as a Complete Set
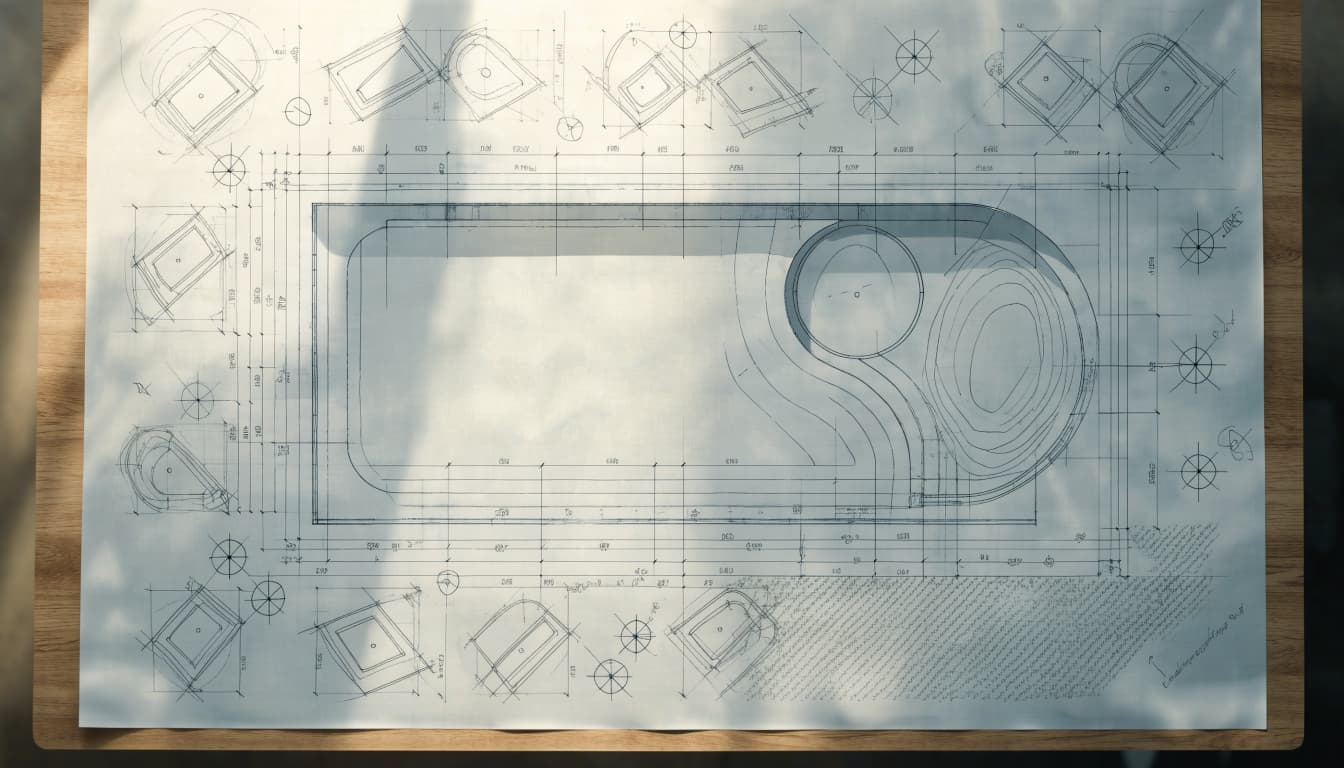
A presentation rendering helps you picture the backyard. However, construction drawings need to communicate measurements, heights, and details that a rendering may leave out.
Compare the different views
Ask which sheets you need to review together. The overhead layout shows placement and shape, while sections or detail drawings may explain underwater features and changes in height.
Follow each feature across those views. A bench shown overhead should have enough information elsewhere to explain its height and usable seating area.
Also check the drawing date and revision information. If you requested a change, confirm it appears on every affected sheet rather than only in the latest rendering.
Have the designer explain notes and symbols
Plan conventions can vary between designers and drawing sets. Use the legend and written notes provided with your plans, and ask about anything you can't interpret.
Have the designer identify lines, abbreviations, callouts, and symbols that affect your layout. Don't assume similar-looking marks mean the same thing across separate drawings.
Ask where each referenced detail appears. Notes about finishes, feature construction, or items supplied separately can affect what you're approving. Any unclear item should be resolved with the designer before you sign.
Confirm What Every Dimension Measures
Start with overall pool length and width, then review measurements for the spa, shelf, benches, and deck.
Ask what the endpoints of each dimension represent. A measurement could describe the water area, finished pool edge, or another construction reference. Those distinctions affect how large the finished swimming space feels.
For a freeform pool, one overall width won't describe every curve. Ask the designer to show the widths at narrow areas and around projecting features.
Review distances between the pool and the house, enclosure, and other structures. Check deck space where people will walk, sit, or move furniture.
Written dimensions should guide your review. A resized PDF or printed drawing can make on-screen measurements unreliable. If you need to measure from the drawing, have the designer verify its scale first.
Finally, confirm which measurements describe finished surfaces. You want to understand the space you'll use after coping, tile, and other finishes are installed.
Separate Water Depth from Elevation
Depth and elevation describe different aspects of the pool. Read them together so the finished water level, floor, coping, and nearby deck make sense.
Confirm depths and floor transitions
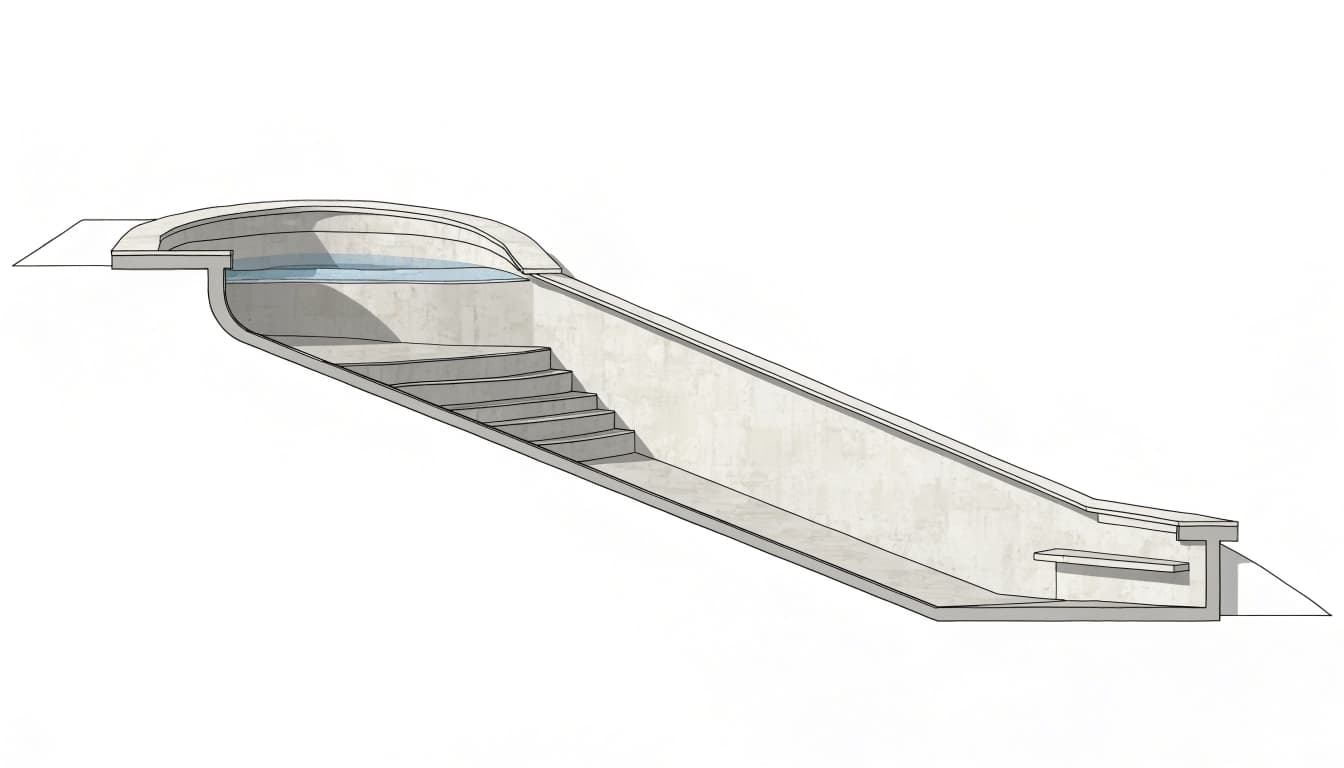
Ask whether the labeled depths describe finished water depth and what water-level reference the designer uses. Don't substitute the top of the coping for that reference.
Locate the shallowest and deepest swimming areas. Then ask where the floor begins to slope and how that transition relates to steps, benches, and play space.
A section view can clarify information that the overhead drawing doesn't show. Review whether the planned depths suit your intended use, and discuss diving separately rather than assuming a deeper area permits it.
Connect elevations to the surrounding yard
An elevation states a height relative to the drawing's reference point. Have the designer explain that reference and identify finished heights for the pool edge, deck, spa, and nearby house surfaces.
For a raised spa, confirm its height above the pool and how you'll enter it. Also review the spillover location.
Ask how deck grading and drainage relate to those elevations. In Southwest Florida, existing low spots deserve attention during site planning. Your designer should explain where water will go and whether the layout requires additional drainage work.
Check Steps, Benches, Sun Shelves, and Spa Details
Small underwater features can take up substantial space. Review their dimensions and heights with the same care you give the pool perimeter.
Follow the entry route and seating layout
Locate every entry step and confirm its finished size and height with the designer. Ask where the entry ends and the main swimming floor begins.
Check whether a bench projects into a walking or swimming route. Its outline alone won't tell you how much usable seating it provides.
If your plans include handrails or other entry aids, confirm their location. Also discuss the pool's required safety provisions with the builder; entry steps don't replace barriers or other applicable protections.
Review shelf use and spa access
For a sun shelf, confirm the usable area and intended water depth. Discuss the furniture you plan to place there and check the manufacturer's requirements before assuming it will fit.
Locate bubblers and any planned umbrella sleeves so they don't conflict with seating.
For the spa, review the entry route, seating arrangement, and spillover position. Ask how the finished height affects access. Because shelves, benches, and spas occupy part of the footprint, confirm how much open swimming space remains once they're included.
Review Equipment and Feature Locations
Equipment placement affects service access, plumbing routes, and your experience around the pool. Find it on the plans before approving the backyard layout.
Leave access for operation and maintenance
Ask the designer to identify the planned pump, filter, heater if selected, and controls. Confirm whether the equipment arrangement is final or still subject to product selection.
Review access for cleaning, servicing, and future replacement. Ask the builder to verify required clearances for the actual equipment, rather than relying on a generic equipment-pad outline.
Consider nearby bedroom windows, outdoor seating, and landscaping. Discuss operating sound and visual screening without blocking access or violating equipment requirements. Also confirm how you'll reach controls and shutoffs.
Coordinate features with plumbing and utilities
Check the exact location of each selected waterfall, deck jet, bubbler, or fire bowl. Those locations need coordination beyond their appearance in a rendering.
A raised spa requires plumbing that accounts for its elevation. Waterfalls also need flow planning, while fire bowls require gas-line coordination with the appropriate licensed trade.
San Juan's explanation of gunite pool plumbing considerations covers these feature-related needs. Ask whether the plans and equipment selections support the features you've chosen, and whether associated work appears in the project scope.
Use a Practical Checklist Before Signing
Bring your current drawings and written selections to the review meeting. Confirm these items with your pool designer:
- The layout matches the property survey, and the designer has addressed applicable placement restrictions.
- Pool and spa dimensions clearly identify their measurement points and the finished space they describe.
- Water depths, floor slopes, and the water-level reference are clear across the relevant drawings.
- Finished elevations explain the relationship between the pool, spa, deck, yard, and nearby house surfaces.
- Steps, benches, and shelves have confirmed dimensions and heights that suit your intended use.
- Deck space accommodates your planned furniture, door access, walking routes, and screen-enclosure layout.
- Equipment and feature locations include service access and coordination with plumbing, electrical work, and gas where applicable.
- Notes, symbols, safety provisions, finishes, exclusions, and requested revisions are understood and documented.
Ask the designer to record answers that change the layout or scope. Keep the revised drawings with your approval documents.
If a designer's explanation changes how you'll use the pool, get that detail documented before approving the plan.
Keep Approved Drawings and Selections Aligned
Your signed layout, written scope, finish selections, and permit drawings should describe the same intended project. Ask the builder to identify any details that remain undecided.
San Juan's pool construction stages place pool layout design before engineering and permits. Understanding that sequence helps you resolve design questions before later work depends on them.
For Cape Coral projects, the new gunite pool permit checklist includes dimensions, depths, steps, benches, shelves, and spa details. Major additions after initial approval can require revisions, extra review time, or a separate permit.
Revisit the approved design at the pre-start meeting. The Fort Myers pre-start meeting guidance calls for confirming features, finishes, and equipment placement. Ask how any later changes will affect cost, schedule, and approvals before authorizing them.
Approve a Layout You Can Picture Using
Good gunite pool plans should let you understand the finished space, including the areas around and below the water. Clear documentation helps connect the drawing to the backyard you expect.
Before signing, resolve every unclear measurement, symbol, and feature with your designer. Approve the layout when you can explain where you'll enter, swim, sit, and walk without relying on assumptions.