
Gunite Pool Curing: What Happens Before the Finish
Your new pool can look solid long before its shell is ready for an interior finish. Gunite pool curing happens gradually, as cement reacts with water and the concrete develops strength.
That means a dry-looking surface doesn't confirm readiness, and another homeowner's construction schedule won't necessarily match yours. The project-specific curing plan matters more than a generic countdown.
Before plaster, pebble, or another interior goes on, your builder must account for the shell, weather, and selected finish requirements.
Key Takeaways Before the Finish Stage
- Curing supports cement's reaction with water; drying means moisture leaves the concrete. They aren't interchangeable.
- Weather, shell conditions, and finish specifications affect the schedule, so there's no universal waiting period or homeowner readiness test.
- Follow your builder's moisture-management instructions and approved finishing schedule. Don't change watering, apply products, or fill the shell without direction.
The shell and its interior finish also have separate curing needs. Reaching the finish stage doesn't end all curing-related care; the finished interior will need its own filling and startup procedure.
How Gunite Pool Curing Builds the Shell
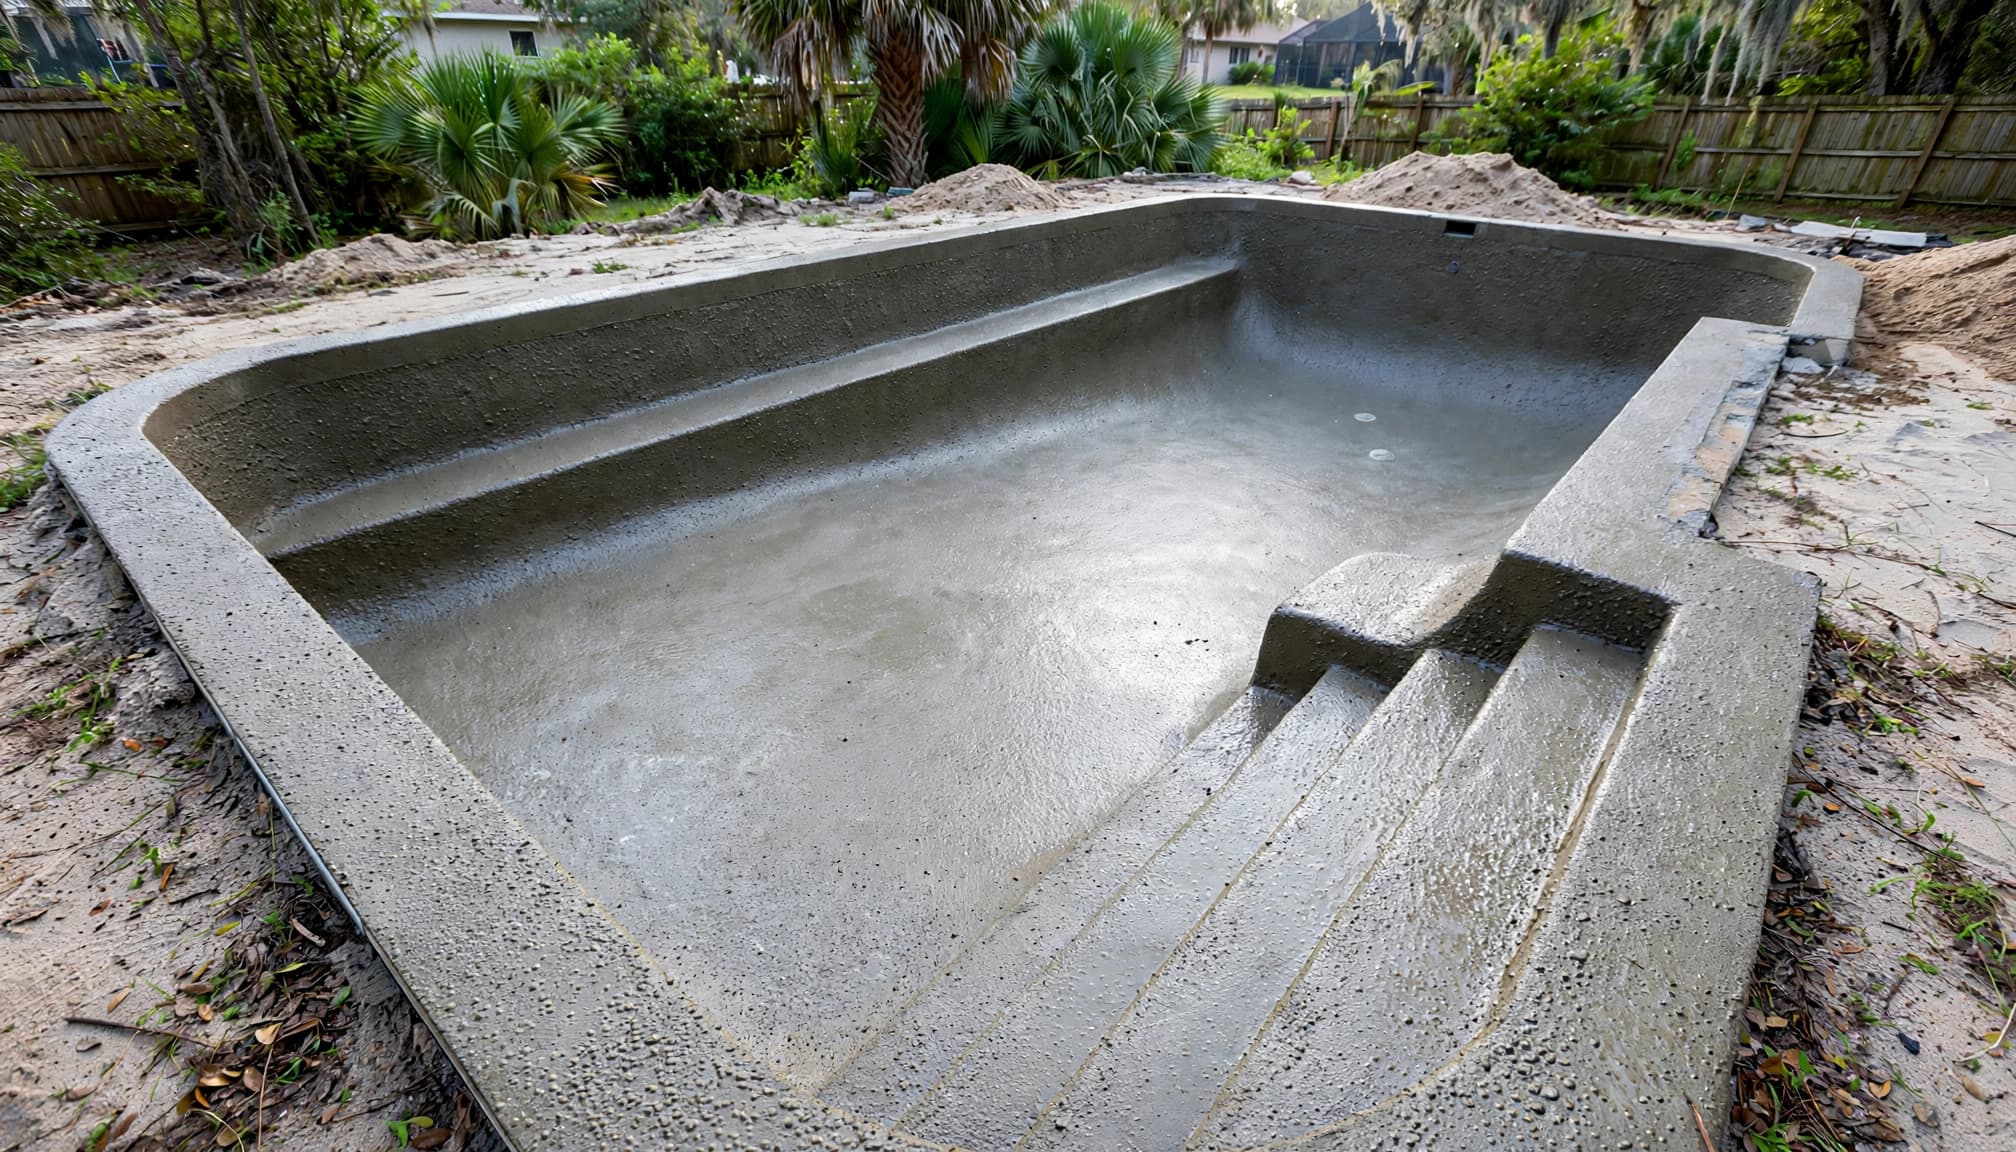
Gunite is concrete placed through a dry-mix shotcrete process. Compressed air carries the dry materials through a hose, and water enters at the nozzle.
Once placed, the cement continues reacting with water. This chemical process, called hydration , creates the hardened material that binds the concrete together.
Curing supports a continuing reaction
The shell's first hardening is only part of its development. Hydration continues after the concrete becomes firm, provided suitable moisture and temperature conditions remain.
Curing practices help maintain those conditions during the specified period. They reduce premature moisture loss while the material develops its properties.
However, curing can't correct every construction defect. Proper placement, reinforcement, and shell construction remain separate requirements. Adding water later doesn't repair poorly placed concrete or replace a needed inspection.
Drying describes moisture loss
Drying happens when moisture leaves the concrete. A shell can dry at its surface while hydration continues inside, or lose surface moisture too quickly.
Because those processes overlap, appearance alone is misleading. A pale surface doesn't prove that curing is complete, and a darker surface doesn't establish adequate strength.
Concrete also changes volume as it dries. Controlling early moisture loss helps manage shrinkage-related concerns, but no watering routine guarantees a crack-free shell. Your builder must assess the actual conditions rather than rely on color or touch.
Managing Moisture in Southwest Florida Weather
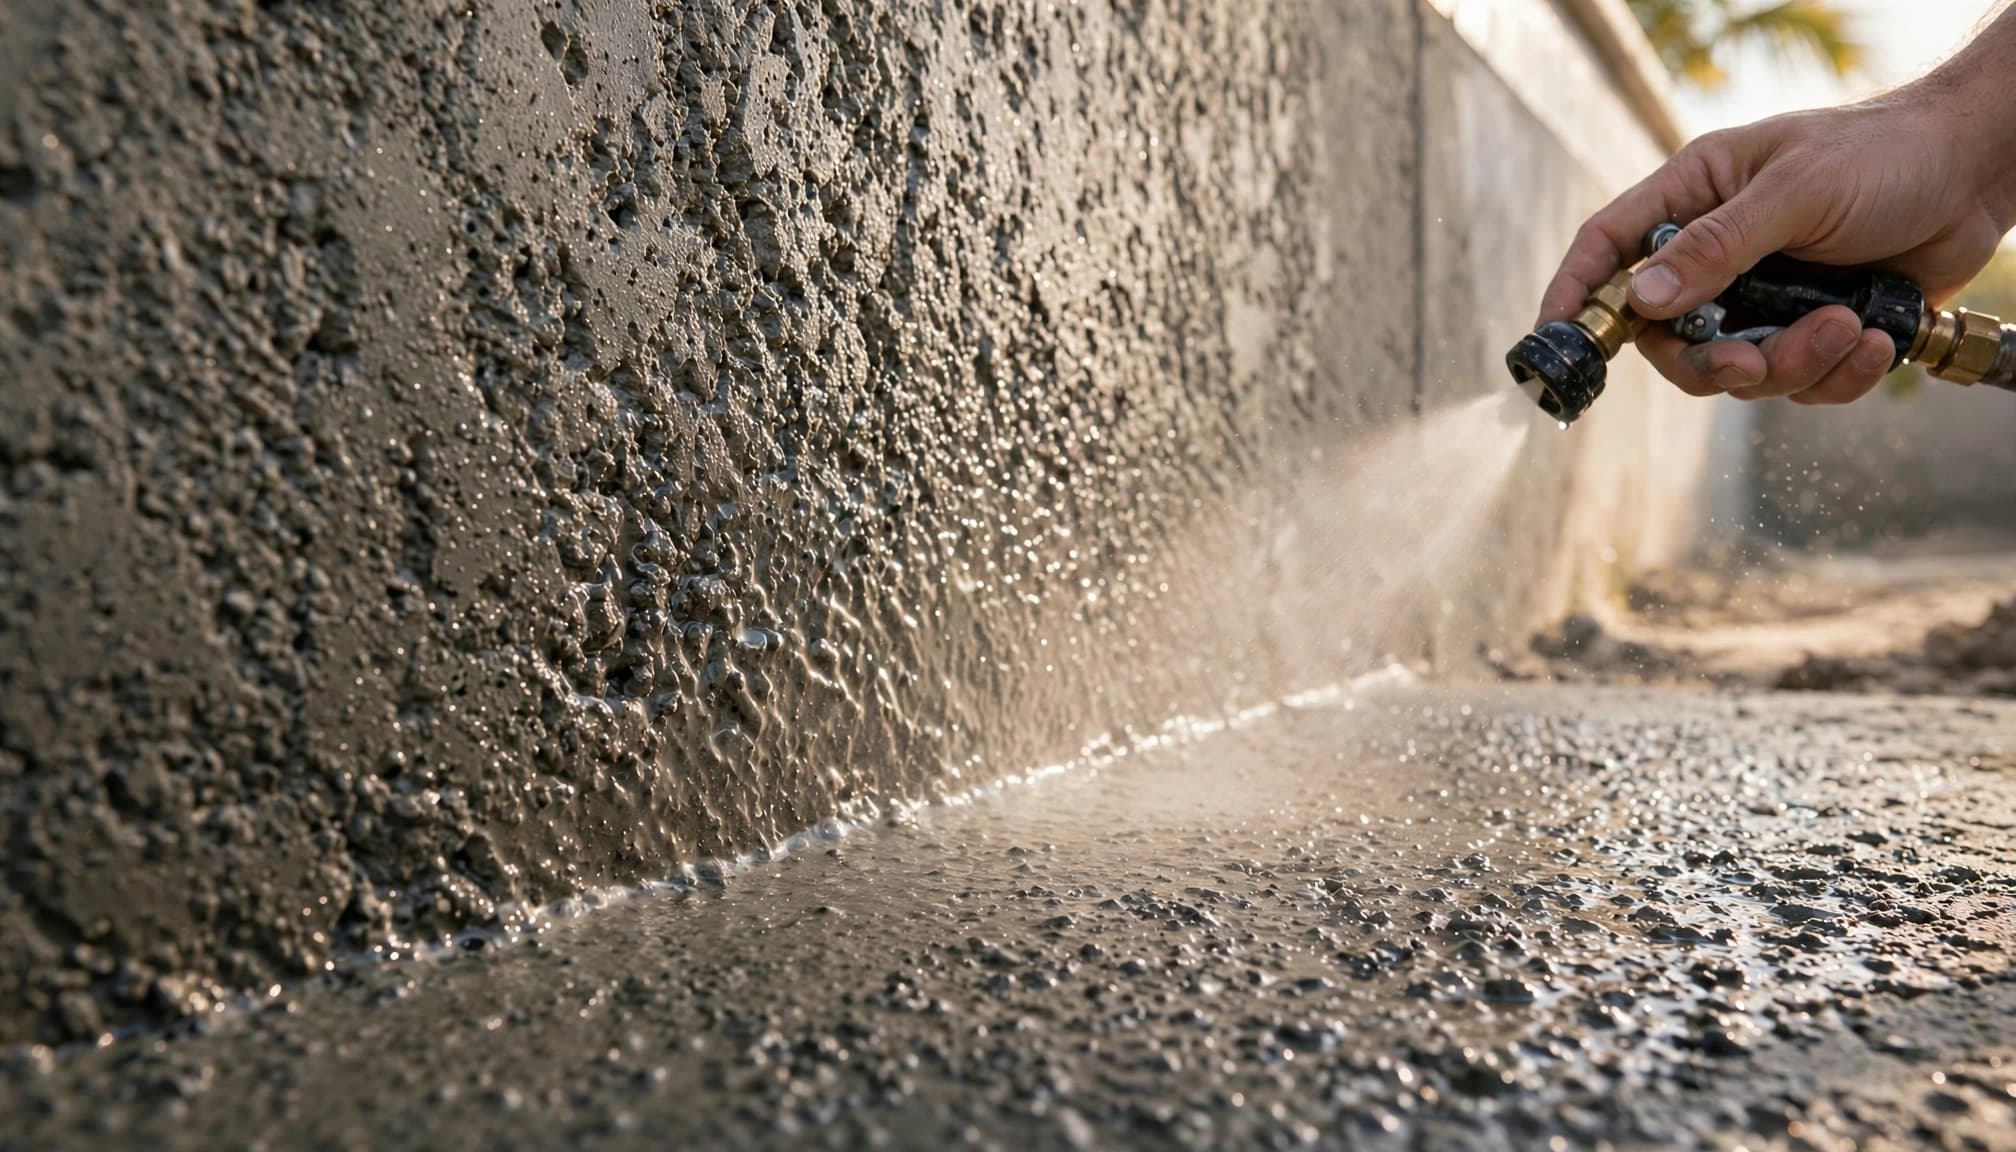
Southwest Florida's warm climate doesn't remove the need for curing care. Direct sun and moving air can draw moisture away from exposed concrete, even when the air feels humid.
A pool shell also has uneven exposure. Walls, steps, benches, and shallow shelves may receive different amounts of sun or shade throughout the day.
Follow the assigned moisture-management method
Your builder may specify water application, protective coverings, or another approved curing method. The method and frequency should come from the project instructions, not a general online watering schedule.
If watering is your responsibility, ask which areas need attention and how to apply water without damaging fresh surfaces. Also confirm who handles the task when you're away.
Don't substitute a curing compound, sealer, or other product on your own. Some materials can interfere with the bond of a later finish unless the finishing system permits them or requires their removal.
Rain doesn't replace the curing plan
Rain can wet the shell, but a passing shower may not provide the coverage or duration the curing plan requires. Meanwhile, runoff can carry soil and debris into the basin.
After heavy rain, let the builder decide how to handle accumulated water and any cleanup. Don't assume the shell should stay flooded, and don't drain or fill it without approval.
Report washed-out areas, damaged surfaces, or unexpected standing water. Those observations help the construction team assess the site; they aren't homeowner readiness tests.
Why There's No Universal Wait Before Plaster
A calendar date alone doesn't establish whether a shell is ready for its interior. Gunite pool curing must fit the construction requirements and the finish manufacturer's instructions.
The builder should coordinate those requirements before booking the application crew. If the schedule changes, ask what changed and which requirement controls the revised date.
Weather and shell conditions affect timing
Temperature influences hydration, while sun, wind, and humidity influence moisture loss. Weather also affects access, surface preparation, and the conditions available for applying a finish.
The shell's condition matters too. Placement quality, curing history, repairs, and any areas requiring further assessment can affect the next step.
For that reason, two pools in the same neighborhood may follow different schedules. Matching a neighbor's plaster date or elapsed time isn't a reliable basis for advancing your project.
The selected finish adds its own requirements
Traditional plaster, pebble finishes, and other aggregate interiors don't all share identical application instructions. The selected system may have requirements for substrate condition, preparation, bonding materials, and weather during installation.
San Juan Custom Pools & Spas offers pebble and premium aggregate options through its pool resurfacing and renovation services. When choosing an interior, ask which installation and startup instructions apply to that product.
A shell can reach its planned curing milestone and still need cleaning, repair, or other preparation before the finish crew starts.
Readiness combines timing and condition. Neither one substitutes for the other, and the responsible construction professionals should confirm both.
Where Curing Fits in Pool Construction
Interior finishing usually comes well after the shell is shot. Other work may proceed during the interval, provided it doesn't damage the shell or conflict with the curing plan.
San Juan Pools & Spas lists 16 stages in its gunite pool construction process. "Shoot Concrete" is step 5, "Interior Finish" is step 14, and "Fill With Water" is step 15.
Between shell placement and finishing, its sequence includes plumbing and backfill, brick and tile, decking, screen installation, equipment, and electrical work. That order describes construction stages, not a curing timetable.
For homeowners, this explains why the unfinished basin may remain visible while crews work around it. Progress outside the pool doesn't automatically mean the interior is ready.
Keep access clear and coordinate landscaping or other backyard projects with the builder. Cutting dust, soil, and construction debris can add cleanup work before finishing begins.
Preparing the Cured Shell for an Interior Finish
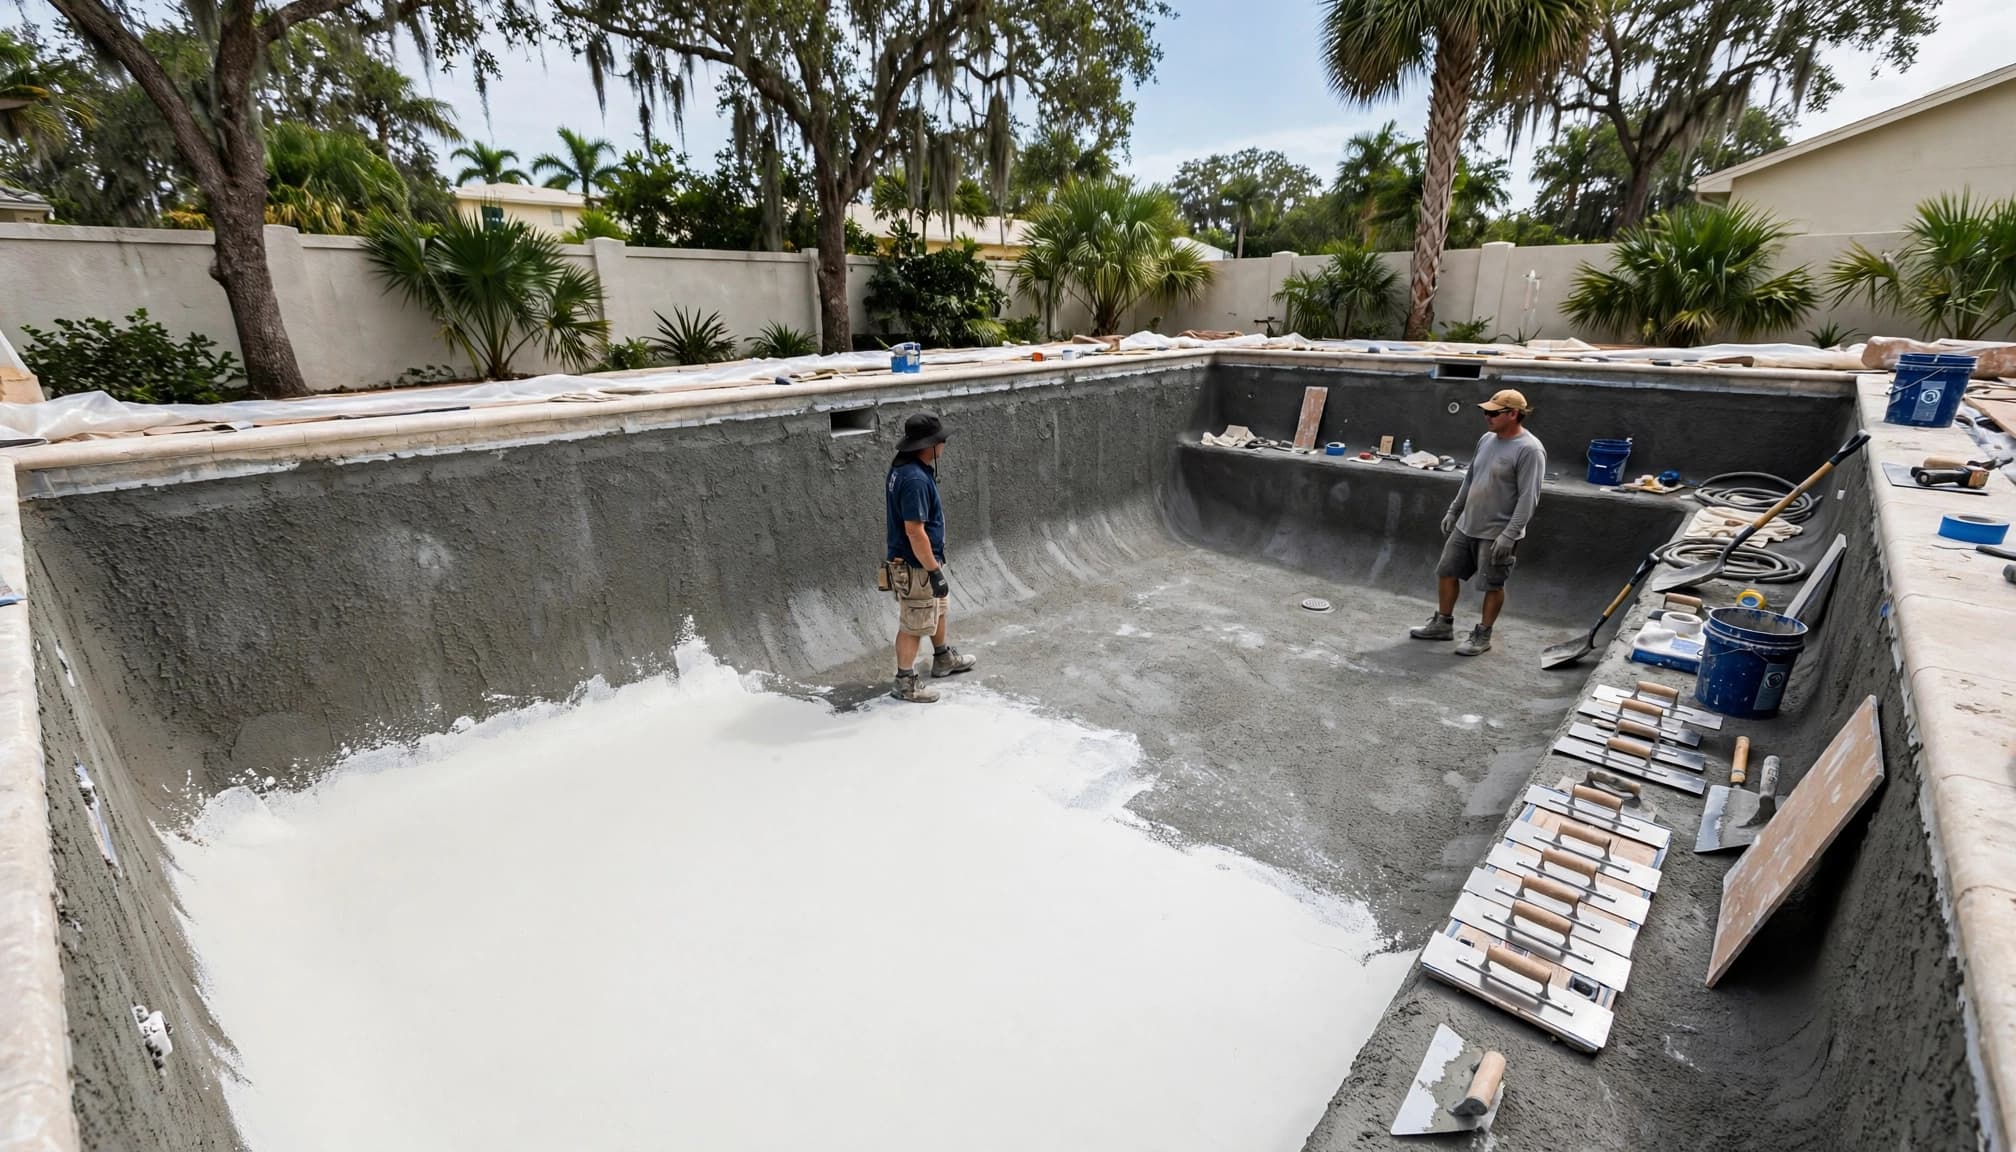
The finish needs a suitable substrate. Even after the specified shell-curing period, the crew must address conditions that could affect adhesion or appearance.
Preparation depends on the shell and the chosen finish system. It shouldn't follow a one-size-fits-all recipe.
Inspect and address concerns before covering them
Tell your builder about visible cracks, chipped areas, or changes you've noticed. Describe where they are and when they appeared, rather than deciding whether they're harmless.
Some surface cracks differ from defects that need repair or engineering review. Their significance depends on their characteristics and the shell's construction, so a photograph alone may not settle the issue.
Don't patch, grind, or coat a questionable area yourself. The construction team should determine whether repair is needed and which materials are compatible with the finish.
Clean and prepare for the selected system
Loose material, dirt, and contaminants can interfere with adhesion. Crews may need to clean or otherwise prepare the shell according to the finish specifications.
Bonding treatments, where required, also need compatibility with the selected interior. A product appropriate for one installation may not suit another.
Confirm that dusty or disruptive work nearby won't overlap with finish application. Also ask who authorizes the final handoff from shell preparation to installation.
A smooth-looking patch or clean surface isn't proof of complete readiness. The finish crew and builder still need to confirm that the planned preparation is complete.
Shell Curing and Finish Startup Are Separate
Applying the interior begins another care period. Fresh cement-based plaster and aggregate finishes continue developing after installation, and their surface conditions require careful management.
The filling procedure should follow the finish manufacturer's instructions and the contractor's plan. For finishes requiring continuous filling, stopping partway can leave visible marks.
After filling, brushing, water chemistry, and equipment operation follow the approved startup procedure. Don't add salt immediately unless the selected finish and system instructions allow it.
San Juan's guidance on coordinating tile, coping, and finishes separates interior application, filling, and startup care. These stages need coordination even when the shell work is complete.
Before application day, confirm who supplies the startup instructions and who performs the initial care. If you'll handle part of it, get the directions in writing and clarify anything unfamiliar before the pool fills.
Frequently Asked Questions About Gunite Curing
Can a dry-looking shell be ready for plaster?
It may be ready, but dryness doesn't establish that. The builder must consider the curing history, shell condition, surface preparation, and finish requirements. Don't use color, touch, or the absence of visible moisture as a substitute for that review.
Should I water the shell myself?
Only when your builder assigns that responsibility and provides instructions. Ask about the application method, areas to cover, frequency, and weather-related changes. If you miss an assigned watering period, tell the builder instead of compensating with an unapproved soak.
Does a curing delay mean something went wrong?
A revised schedule doesn't automatically indicate a defect. Weather, repairs, preparation needs, or finish specifications can change the planned application date. Ask for the reason, the next required step, and who will confirm readiness. Keep other trades aligned with the updated plan rather than pressuring crews to preserve an earlier date.
Follow the Shell's Project-Specific Curing Plan
A solid-looking shell is an important construction milestone, but its appearance can't tell you when finishing should begin. Gunite pool curing supports gradual material development, and the next step depends on both the shell and the selected interior.
Follow the builder's project-specific schedule , report concerns, and leave readiness decisions to the responsible team. Then follow the separate finish startup instructions so care continues through filling and the first stage of pool ownership.