
Pool Renovation Order: A Practical Plan for Every Trade
A pool remodel can go sideways when beautiful finishes arrive before the work hidden underneath is ready. The right pool renovation order protects your budget, avoids rework, and gives every trade room to do its job properly.
New tile, a brighter interior, and a paver deck may be the visible goals. However, shell repairs, plumbing, electrical upgrades, and permits often decide whether the finished pool performs as it should. Start with a clear scope, then build the schedule around trade dependencies.
Start With the Scope and Existing Pool Condition
Every successful renovation begins with an on-site assessment. A contractor should inspect the shell, coping, tile, deck, equipment pad, plumbing, electrical components, and safety features before anyone chooses finishes.
The inspection separates cosmetic work from repairs that affect the pool's function. For example, peeling plaster may only need resurfacing, while recurring stains, falling tile, or unexplained water loss can point to deeper concerns.
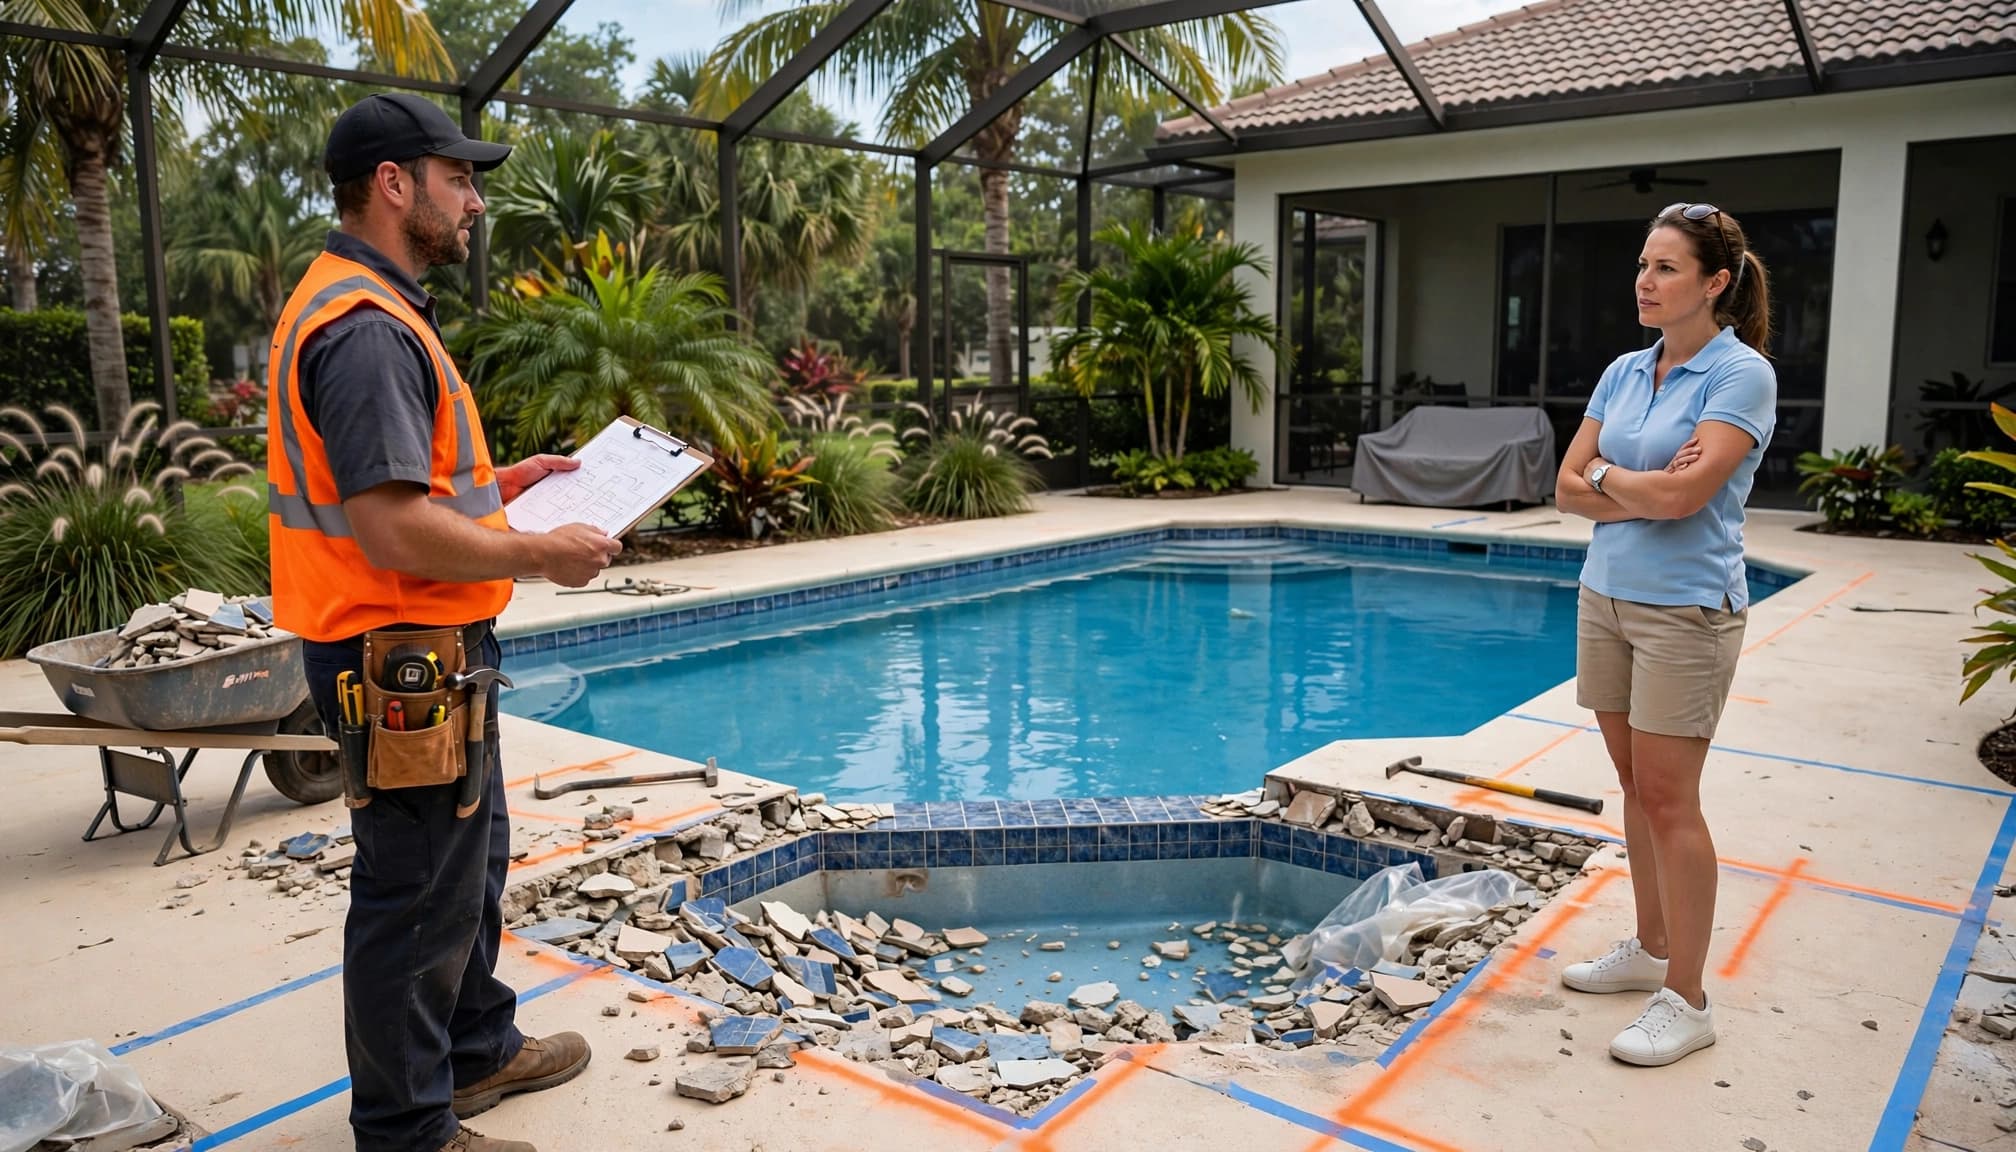
Decide whether the project is partial or full
A partial renovation focuses on selected items, such as a new interior finish, replacement waterline tile, a salt system, or deck repairs. It usually moves faster because fewer trades overlap.
A full renovation may include structural work, new plumbing lines, updated equipment, coping, decking, lighting, a sunshelf, or a spa addition. In that case, the work must follow a tighter sequence. Installing pavers before replacing buried plumbing, for instance, creates unnecessary demolition later.
Write down what stays, what gets replaced, and what may be added later. That list gives the contractor a practical starting point for pricing and scheduling.
Inspect the parts that finishes can hide
Ask about cracks, hollow spots in the deck, loose coping, deteriorated skimmer throats, and corroded electrical bonding. A pressure test can help identify plumbing leaks before the pool receives a new surface.
Older pools may also need updates to meet current safety or electrical rules when renovation work triggers those requirements. Local code, pool type, and permit scope determine what applies. A concrete pool, fiberglass shell, and vinyl-liner pool each have different repair methods and sequencing needs.
Put Permits and Design Decisions Ahead of Demolition
Demolition feels like the start of a remodel, but planning must happen first. Confirm the final design, product selections, drawings, and permit needs before a crew removes tile or opens the deck.
For broad projects, pool design, engineering, and permits belong early in the schedule. Permit review times differ by municipality, workload, and the exact work proposed. Southwest Florida homeowners should also account for local wind, drainage, barrier, and electrical requirements.
Lock in selections that affect the structure
Choose features that need plumbing, electric, gas, or structural preparation before work begins. These can include a raised spa, waterfall, deck jets, bubblers, fire bowls, automation, heat pumps, and LED lighting.
Tile size can affect coping details. A new paver thickness may change deck elevations near door thresholds or screen-enclosure tracks. Equipment choices affect pad space, plumbing layout, and electrical load.
A feature added after the deck is complete often costs more because crews must cut finished surfaces to run lines that should have been installed first.
Confirm lead times too. Specialty tile, custom coping, heaters, automation panels, and certain light fixtures may take longer to arrive than standard materials. Ordering early keeps one missing component from delaying several trades.
Demolish Carefully, Then Repair the Pool Structure
Once approvals and materials are in place, crews can drain the pool when the project requires it. The contractor should plan draining with groundwater conditions in mind, especially in areas with a high water table.
A drained concrete pool can be vulnerable to hydrostatic pressure. Your contractor should determine the appropriate approach for the site rather than treating drainage as a routine first-day task.
Remove finishes without damaging what stays
Demolition may include chipping plaster, removing waterline tile, lifting coping, cutting deck sections, or taking out failed plumbing. Protect nearby landscaping, screen enclosures, windows, and outdoor kitchens before dust and debris spread.
If the deck remains, mark every area where new lines must pass under or through it. If the deck is being replaced, crews often have better access for plumbing and electrical upgrades.
Repair the shell before installing new materials
After demolition, repair cracks, delamination, deteriorated bond beams, steps, benches, and skimmer areas. The repair method depends on the cause and condition of the pool, so a cosmetic patch isn't always enough.
Structural repairs need their required cure time before the next layer goes on. Rushing tile, waterproofing, or plaster over green repair material can cause bond problems later. This phase may reveal additional work, so leave room in the budget and schedule for legitimate findings.
Follow the Pool Renovation Order for Hidden Systems
The core pool renovation order places all concealed systems ahead of permanent finishes. Once crews seal the shell, set tile, and install decking, accessing pipes and wires becomes harder and more expensive.
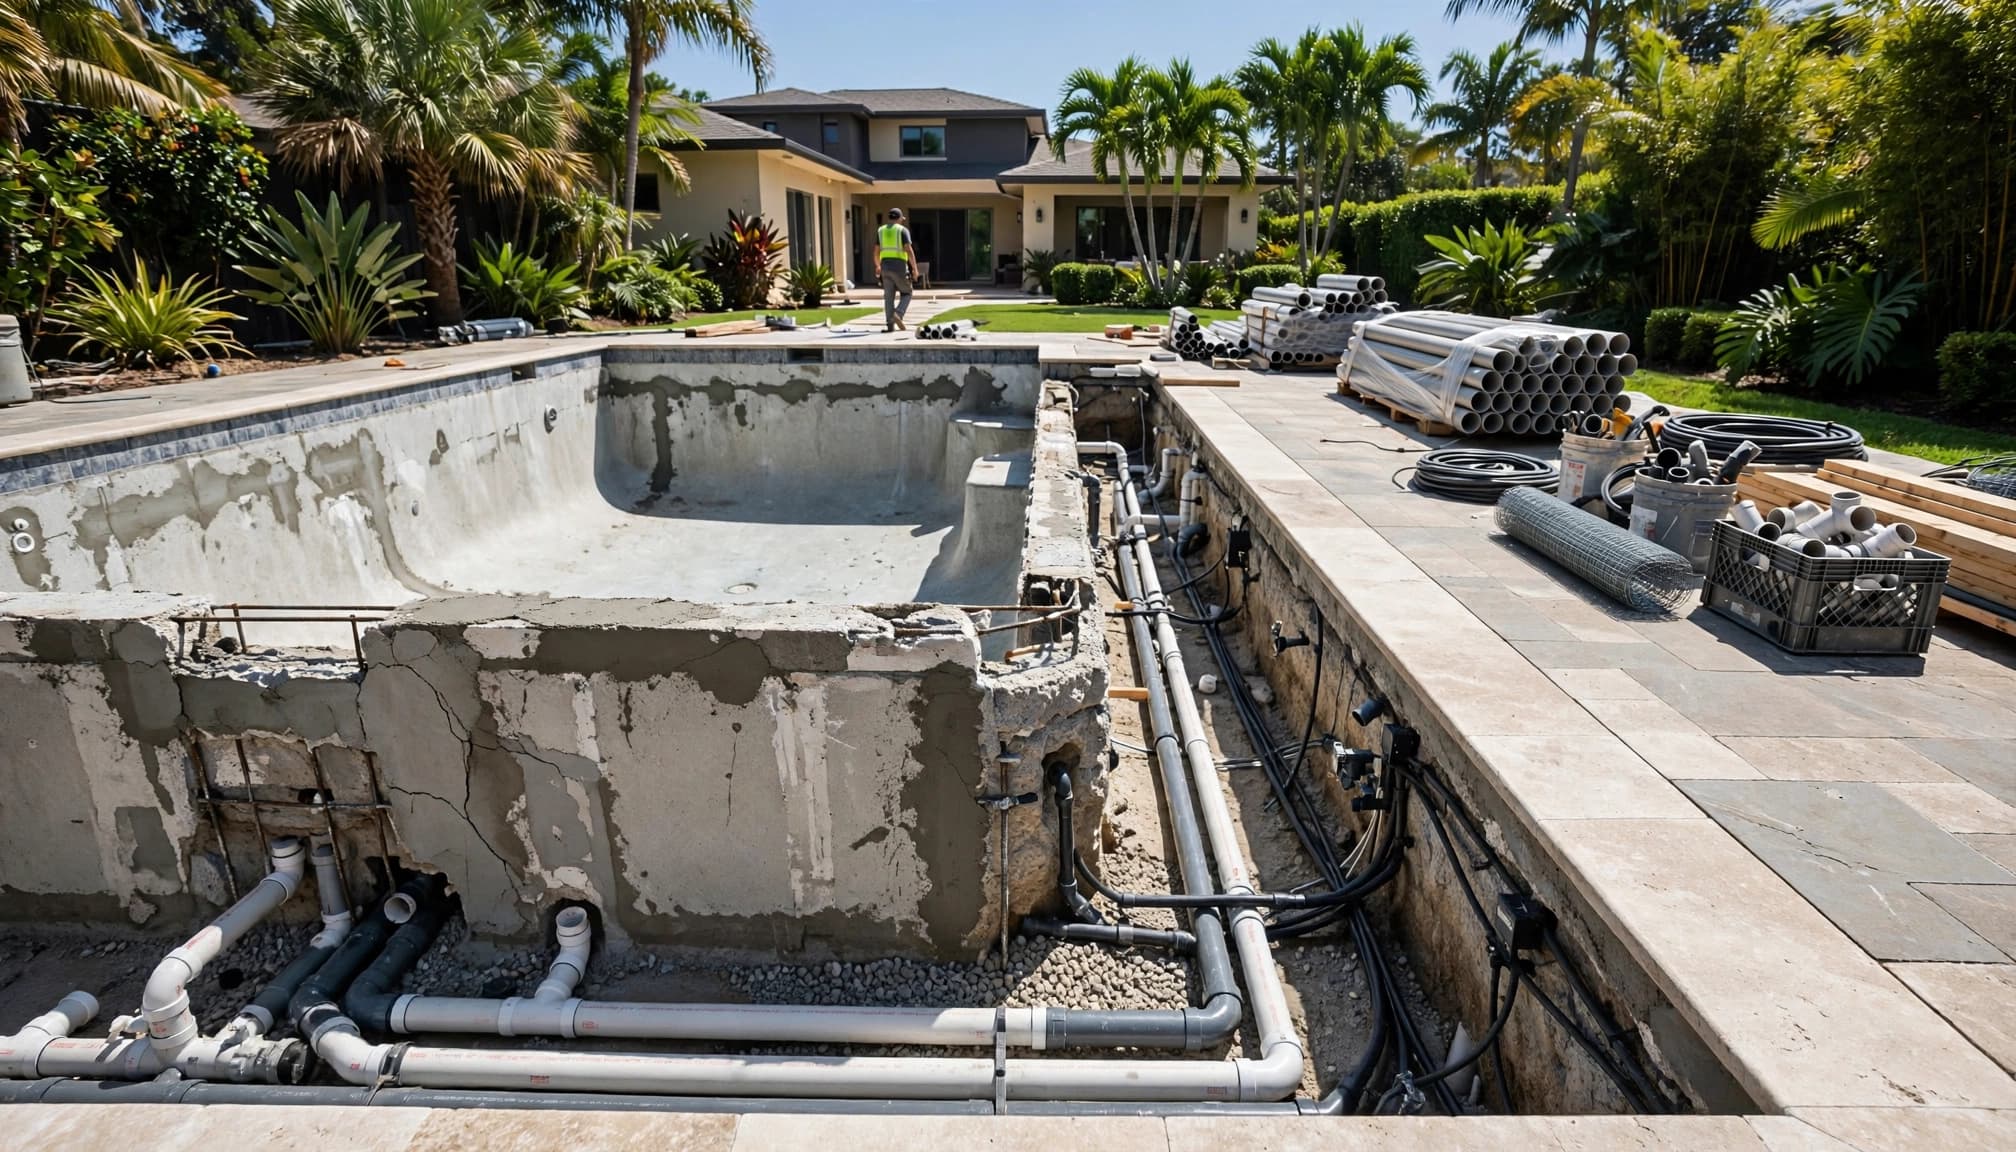
Replace or modify plumbing before the interior finish
Plumbing work may include skimmers, main drains, returns, suction lines, spa jets, cleaner lines, autofill connections, and water-feature plumbing. Crews should pressure-test lines before they cover them with concrete, backfill, or deck material.
A new variable-speed pump cannot solve a cracked suction line. Likewise, a new waterfall needs correctly sized plumbing before stone or tile surrounds it. Complete this work before interior preparation.
Coordinate electrical, gas, and equipment changes
Electrical work can involve bonding, grounding, GFCI protection, lights, automation, transformers, and a dedicated circuit for new equipment. A heat pump or gas heater may require additional utility planning and clearance space.
Equipment installation often happens in stages. Set the plumbing stubs and pads early, then make final connections when the pool is close to startup. If the renovation includes gas fire features, coordinate those lines before deck surfacing and before stonework closes access.
Pool resurfacing and equipment installation can be planned together, but neither should get ahead of the required rough-in work and inspections.
Rebuild Tile, Coping, and Decking in the Right Sequence
With repairs passed, underground lines tested, and rough inspections complete, visible construction can move forward. This stage is where a tired pool begins to look new, yet the order still matters.
Set the waterline tile and coping first
Tile and coping establish the pool's finished edge. Install them after the shell and beam repairs are ready, but before most deck work. This lets the deck meet the coping cleanly and supports accurate drainage slopes away from the pool and home.
Confirm the chosen grout, tile trim, and coping profile before installation. Mixed materials, such as porcelain tile with natural-stone coping, may need different setting products and sealing practices.
Build the deck around finished elevations
Next comes deck preparation, including base work, drainage details, concrete, pavers, or coatings. The finished height must work with coping, thresholds, drainage paths, and any screen enclosure.
Add features that penetrate the deck before the final surface goes down. Deck jets, drains, sleeves for rails, and conduits for lighting all need a place before pavers lock together or a coating cures.
For inspiration that reflects local backyard styles, browse completed pool renovation examples before choosing the final mix of tile, coping, and deck materials.
Schedule Interior Finishes Around Weather and Cure Times
A new interior finish belongs near the end of a concrete-pool renovation. By this point, dusty demolition, shell repairs, plumbing changes, tile work, and most deck activity should be complete.
Weather has a real effect on timing. Heavy rain can interrupt surface preparation and wash debris into an empty pool. High heat and direct sun can also change working conditions for crews and materials. A reliable contractor adjusts the schedule instead of forcing a finish application on an unsuitable day.
Prepare the surface for a lasting bond
Before plaster, pebble, or quartz finishes go on, the shell needs thorough preparation. Crews remove loose material, clean the surface, address bond issues, and protect freshly installed tile and coping.
The finish crew needs a clean work area. Avoid scheduling paver cutting, major landscaping, or screen work at the same time. Airborne dust and jobsite traffic can compromise a fresh interior surface.
Fill continuously and follow startup instructions
After the interior application, the pool is typically filled without stopping until the water reaches the proper level. Interrupting the fill can leave visible marks on some finishes.
Fresh plaster and aggregate interiors have a startup period. Brushing, water balancing, and equipment run times follow the finish manufacturer's instructions and the contractor's plan. Don't add salt immediately unless the selected interior and system guidance allow it. Cure time matters as much as the installation itself.
Complete Inspections, Startup, and Final Testing
The final phase turns a construction site back into a backyard. It includes equipment connections, water balancing, cleanup, final inspections where required, and a homeowner walkthrough.
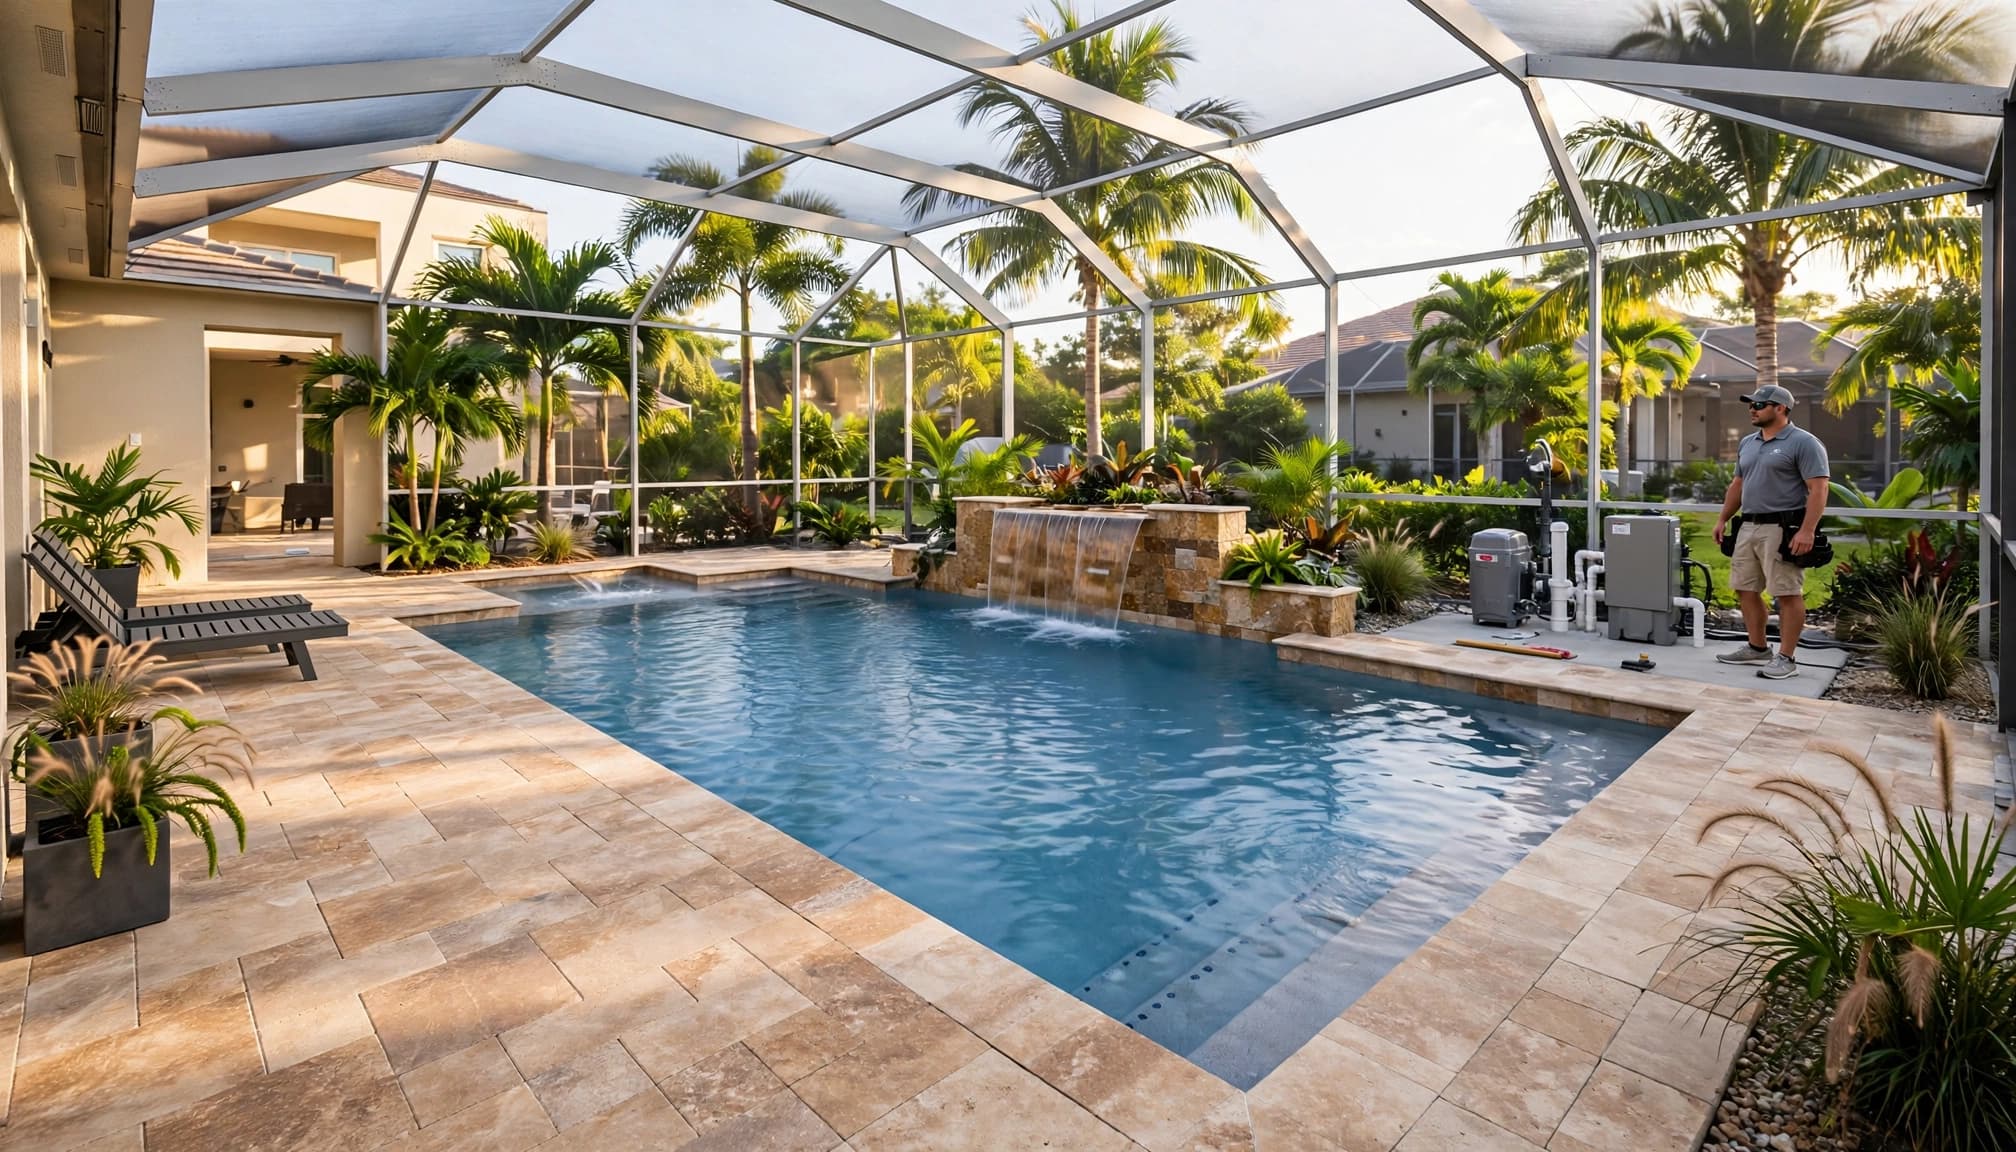
Test every function before handover
Run the pump, filter, heater, lights, automation, cleaner connection, spa, and water features. Inspect returns for proper flow, check valves for leaks, and confirm that drains carry water away from the deck.
Test safety equipment too. Gates, latches, alarms, barriers, handrails, and electrical protection may fall under local requirements. Save manuals, warranties, finish-care instructions, and equipment serial numbers in one place.
Plan for the first weeks of ownership
A renovated pool often needs more attention during the first few weeks than it will later. Water chemistry can shift while the interior cures, and contractors may schedule follow-up checks after startup.
Keep furniture, planters, and heavy objects off newly finished decks until the installation crew confirms the surface has cured. If something looks wrong, such as persistent water loss, air bubbles at returns, or a tripping breaker, report it promptly.
A Better Sequence Produces a Better Pool
A sound pool renovation order starts with condition checks and design choices. It then moves through permits, demolition, repairs, hidden systems, visible surfaces, interior finishing, and careful startup.
When the sequence respects each trade's access and cure times, the finished pool looks better and avoids preventable rework. Plan the work beneath the surface first, then enjoy the upgrades everyone can see.