
Swim-Up Bar Design for Southwest Florida Gunite Pools
A thoughtful swim-up bar design can turn a Southwest Florida pool into a comfortable gathering place without taking over the swimming area. The right layout gives people a place to sit, talk, and cool off while the pool still works for swimming, play, and quiet use.
If you're planning a new gunite pool or remodeling an older one, the details matter. Intense sun, humidity, storm exposure, algae prevention, salt systems, chlorine, and slip resistance should shape the design before finishes are selected. Start with circulation and structure, then add the features that fit your backyard.
How a swim-up bar design fits a gunite pool
A swim-up bar is part of the pool structure, not a freestanding counter placed beside the water. Its wall, stools, plumbing clearances, coping, deck, and nearby equipment need coordination before excavation begins.
Gunite construction allows a bar to follow a rectangular, freeform, or curved pool shape. However, custom flexibility doesn't remove the need for careful planning. A bar placed on the wrong side can interrupt the main swim path or force guests to cross a wet deck.
Start with circulation
Map how people will move through the entire backyard. The main entry, tanning ledge, spa, deep-water area, lanai, and outdoor kitchen should remain easy to reach.
A bar often works well along a side wall or at the shallow end, provided it doesn't block the most convenient route into the pool. In a family pool, keep the seating area away from the only entry point. In an entertaining-focused pool, a longer bar facing the lanai can keep seated guests connected to the house.
Draw the pool deck, loungers, dining furniture, doors, and outdoor kitchen at the same time. This reveals tight areas that may not appear on a simple pool outline.
Connect the bar to the backyard
The bar should relate to the spaces around it. A counter facing the covered lanai can support conversation between swimmers and people on the deck. A bar beside an outdoor kitchen can simplify serving, but it may also increase foot traffic near the pool edge.
Shade deserves early attention in Southwest Florida. A roof, screened lanai, pergola, or carefully positioned shade structure can make the bar more comfortable during the hottest part of the day. Keep sightlines open to the pool, especially when children are swimming.
A bar counter can be perfectly sized and still fail if swimmers have to cross its seating zone to reach the spa or main entry.
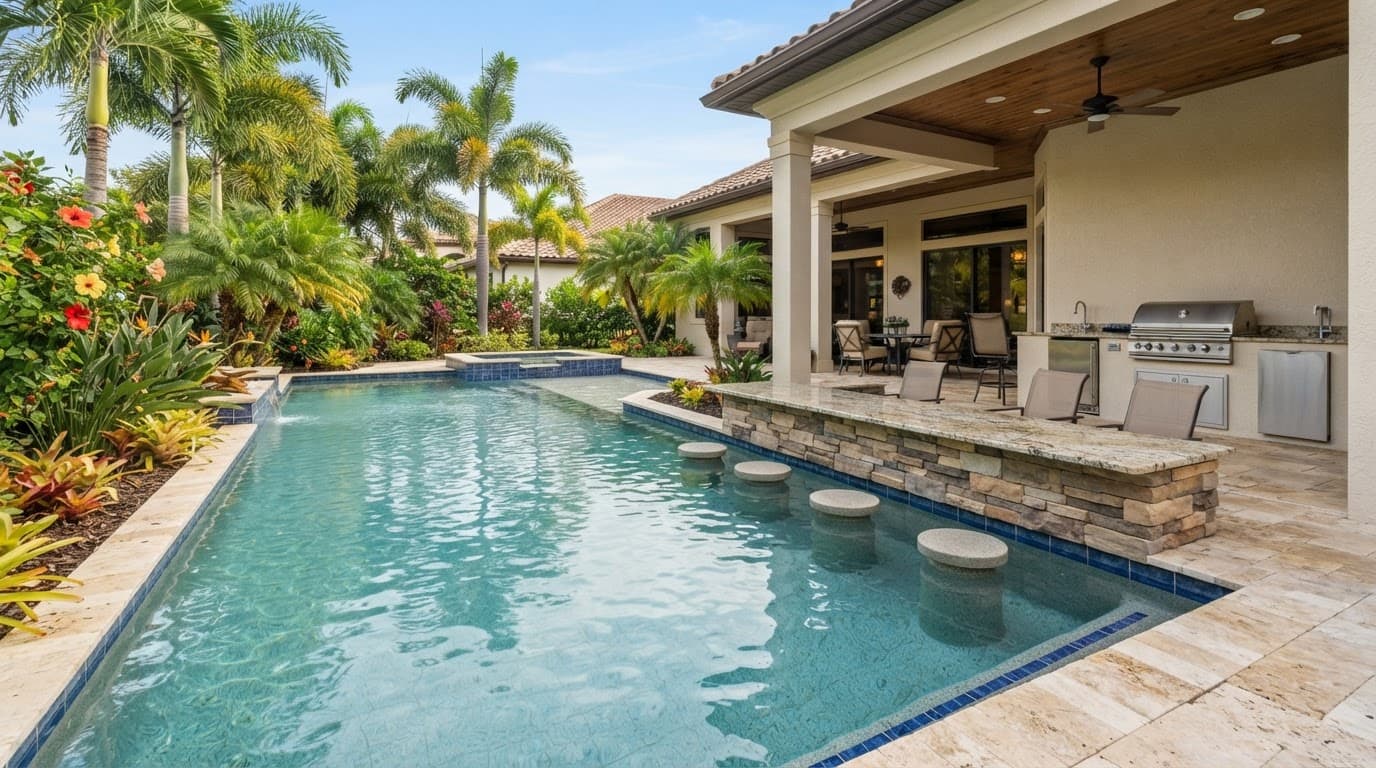
Choose the layout that fits your pool
Your lot, pool shape, and entertaining habits should guide the bar's form. A straight edge is efficient, while a curve can follow a freeform gunite shell. Neither option works best for every property.
Straight bars suit efficient layouts
A straight swim-up bar works naturally with rectangular pools and narrow side yards. It creates a clean edge, offers straightforward sightlines, and usually makes it easier to align the counter with the lanai or outdoor kitchen.
This layout can also simplify construction because it requires fewer curved transitions in the wall, tile, coping, and deck. The trade-off is visual. A long straight counter may feel formal or take up valuable wall space in a compact pool.
Curved and angled bars follow the shell
A curved bar can soften a geometric pool or match the shape of a freeform gunite design. Angled sections can create separate seating zones while giving the pool a more custom appearance.
Curves may improve flow around the pool, but they often require more detailed tile work and carefully fitted countertop material. The radius also affects stool spacing. A tight curve may look attractive on a plan but provide less usable seating than expected.
Compact bars preserve swimming space
A smaller bar with two or three stools may suit a pool where swimming space matters most. Positioning it along a short wall can create a social feature without consuming the entire shallow end.
Some homeowners prefer a raised dry-side counter with submerged seating rather than a large in-water structure. This approach gives the builder more room for storage and appliances, but it requires careful separation between wet and dry areas. The best choice depends on whether the bar is a primary entertaining feature or a smaller accent.
Set practical dimensions for comfortable use
Dimensions affect comfort more than decorative details. General ranges can help you discuss the concept with a pool builder, but the final measurements should match the users, shell depth, coping height, and local site conditions.
Coordinate the stools and counter
Many residential plans start with approximately 30 to 36 inches of water at the stools. That depth can allow seated adults to reach the counter while keeping the area shallow enough for comfortable entry and exit.
Submerged stool seats often need to sit about 18 to 22 inches above the pool floor, but the correct height depends on water depth and the selected stool style. A counter overhang in the range of 12 to 18 inches may provide useful legroom. Stool centers commonly need about 24 to 30 inches of spacing, although larger adults may need more room.
Use rounded counter corners and a comfortable edge. Sharp stone or tile corners can become uncomfortable during regular use and create avoidable contact points in a wet area.
Protect the swim path
A builder may reserve roughly 4 to 5 feet of clear water beside the seating when the pool footprint allows it. This isn't a universal code measurement. It is general planning guidance that helps prevent the stools from narrowing the only route across the pool.
Check the relationship between the bar, spa, steps, and tanning ledge. If someone sitting at the counter must move every time another swimmer passes, the layout needs revision. Include space for deck chairs and service access behind the counter as well.
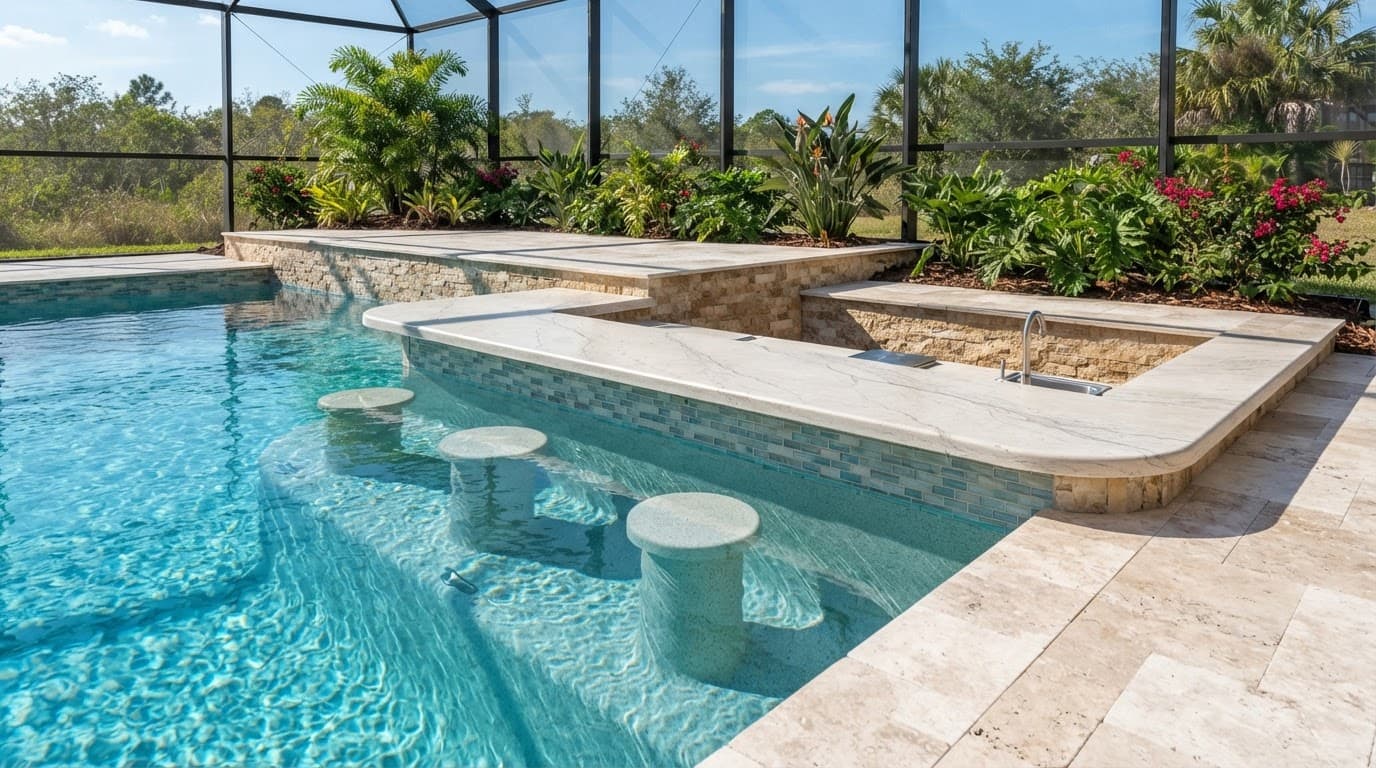
Select finishes for Southwest Florida conditions
Southwest Florida's intense sunlight, humidity, and pool chemicals place constant stress on outdoor materials. Choose each surface for its performance in a wet, exposed setting, not only for its color.
Choose a durable counter surface
Exterior-rated porcelain, sintered stone, and properly selected natural stone can work well for pool bar counters. The product should have clear approval for outdoor use and exposure to moisture, ultraviolet light, salt, and chlorine.
Quartz requires extra care because not every quartz product is intended for prolonged outdoor exposure. Use it only when the manufacturer approves the application and the installation team can protect the material properly.
Pool-rated grout, setting materials, sealants, and stainless hardware also matter. Marine-grade 316 stainless steel can improve resistance to a salt-air environment, but it still needs correct installation and routine care.
Make the deck safe underfoot
The deck around a swim-up bar should have a slip-resistant finish. Polished stone and glossy tile can become hazardous when water splashes onto the surface.
Textured porcelain, properly finished natural stone, and other products rated for pool surrounds offer better options. Avoid rough surfaces that make bare feet uncomfortable or trap dirt around the counter. Light-colored materials can also feel cooler than dark surfaces under direct Florida sun, although shade remains the stronger comfort solution.
Match the pool shell and waterline
The bar should look connected to the gunite pool through coordinated coping, waterline tile, and interior finishes. Flush transitions reduce places where dirt and organic material can collect.
Tile should resist fading, cracking, and chemical exposure. Select grout colors that can handle regular brushing and cleaning without making normal maintenance look excessive. Behind the counter, avoid narrow pockets where water can sit without proper circulation.
Plan maintenance, plumbing, and amenities
A swim-up bar adds surfaces and equipment that need access after construction. The design should make cleaning, water treatment, and repairs practical.
Support circulation and algae prevention
Stools, bar walls, and recessed corners can create low-flow areas. Ask the builder to show where returns, drains, and other circulation components will sit in relation to the bar. The goal is consistent water movement without relying on a single outlet hidden behind the structure.
Algae prevention still depends on balanced water, adequate sanitizer, filtration, brushing, and cleaning. A salt chlorine generator can reduce manual chlorine handling for some homeowners, but a salt pool still contains chlorine and requires testing and maintenance. Choose smooth, cleanable surfaces and keep equipment reachable.
Keep appliances on the dry side
An outdoor refrigerator, ice maker, sink, lighting, or speakers can make the bar more useful. These additions also bring electrical, drainage, ventilation, and service requirements.
Place appliances in a protected dry-side cabinet rather than directly in the splash zone. Electrical components need appropriate outdoor protection, GFCI protection, bonding, and code-compliant installation. Cabinet materials should tolerate humidity and heat, while doors must leave enough room for technicians to work.
Storm exposure affects the design as well. Secure fixed elements properly, plan for drainage, and use removable or retractable accessories where strong winds could damage them.
Address cost and approvals early
A swim-up bar affects more than the countertop budget. Shell geometry, reinforcing steel, tile, coping, stools, deck modifications, shade, lighting, plumbing, and appliances all influence the final cost.
A straight bar may require fewer custom transitions than a curved one. Added appliances and a permanent shade structure increase convenience, but they also require more infrastructure. During a renovation, the existing shell, plumbing, deck, and waterproofing determine whether an integrated bar is practical. A separate raised structure may be more appropriate if the original pool can't accept major structural changes.
Local permitting and code review should happen as part of the design process. Requirements can vary by municipality, property conditions, setbacks, easements, drainage plans, pool barriers, electrical work, gas features, and structural attachments. Ask the builder to confirm the applicable requirements for your property rather than relying on a generic plan found online.
Before excavation, request a scaled drawing that shows the bar, stools, circulation routes, deck furniture, equipment access, and shade. Reviewing the builder's custom pool design process can also clarify when those decisions are made. For a new project or renovation, compare the proposed details with the company's gunite pool design and construction services.
Make the bar fit the way you live
The strongest pool bar plans begin with daily use. Decide whether the space will support morning coffee, family meals, weekend guests, or occasional seating during pool parties. Those habits affect the number of stools, counter length, shade, storage, and connection to the kitchen.
A homeowner who values open swimming space may prefer a compact side bar. Someone who hosts often may want a longer counter facing the lanai, even if it requires a larger pool footprint. Neither choice is automatically better. The right one supports the yard, the household, and the maintenance routine.
Conclusion
A successful swim-up bar design balances social space with comfortable swimming, safe circulation, durable finishes, and practical maintenance. Gunite construction gives Southwest Florida homeowners room to shape the bar around the pool, but the structure must be planned alongside the shell, deck, plumbing, shade, and equipment.
Choose dimensions as planning ranges, confirm materials for sun, humidity, salt, and chlorine exposure, and review local permitting and code requirements before work begins. When those details are settled early, the bar can feel like a natural part of the pool instead of an obstacle added afterward.