Landscape Restoration After Pool Construction: A Safe Plan
Pool construction can leave your backyard looking unfinished long after the pool itself is ready. Heavy equipment, trenching, soil piles, and removed plants often create uneven ground and damaged irrigation.
Landscape restoration after pool construction should follow a careful sequence. The order protects the pool shell, coping, equipment, drainage, and new finishes while giving disturbed soil time to settle.
Before planting or installing pavers, coordinate the site with your pool builder and landscaping contractor. A clear handoff prevents expensive rework later.
Start with a Post-Construction Site Assessment
Begin the restoration process only after the construction crew has removed debris and large equipment. Walk the entire work area with your pool contractor, then document its condition with photographs.
Look closely at the areas around the pool deck, equipment pad, screen enclosure, home foundation, fences, and property lines. Note exposed plumbing, electrical conduit, irrigation lines, bare soil, standing water, and damaged plants.
Ask your builder for any available site information. A simple sketch showing pool plumbing, drain lines, electrical runs, gas lines, and irrigation sleeves can prevent accidental damage during grading. If the builder doesn't have a complete drawing, mark visible utilities and confirm underground locations before digging.
Your first assessment should answer several practical questions:
- Which parts of the yard have changed elevation?
- Where does rainwater flow during a heavy storm?
- Has excavation damaged irrigation or landscape lighting?
- Can technicians reach the pump, filter, heater, and electrical equipment?
- Are coping, tile, decking, or the pool shell exposed to construction damage?
- Which plants can survive transplanting, and which should be replaced?
Take photographs before soil, mulch, or new plants cover the area. Pictures can help resolve questions about damaged irrigation, cracked pavers, or changes to the original grade.
If the project includes deck replacement, coping changes, or equipment upgrades, review the contractor's pool renovation services before combining those tasks with the yard restoration.
Coordinate Landscape Restoration With Final Pool Inspections
Landscaping should fit the pool permit and inspection schedule, not work against it. Before permanent grading or planting begins, ask your pool builder which inspections remain and which areas must stay visible.
Inspectors or service technicians may need access to plumbing connections, electrical bonding points, equipment, drains, barriers, or other construction details. Soil, mulch, pavers, or plants placed too early can cover an inspection area or make access difficult.
The exact sequence depends on the project and local requirements. In many cases, the site handoff works best when the builder confirms the pool work is ready, required inspections are complete, and the landscaping crew has clear instructions.
Use one shared schedule that includes:
- Pool shell, plumbing, electrical, and equipment work.
- Required inspections and corrections.
- Deck, coping, screen enclosure, or drainage work.
- Rough grading and irrigation repairs.
- Soil preparation, plants, sod, and mulch.
- Final cleanup and irrigation testing.
Tell every contractor where the pump, filter, heater, salt system, automation controls, and electrical equipment are located. Keep soil and mulch away from equipment doors, ventilation areas, disconnects, and service paths.
Protect the pool while the remaining work continues. Cover coping and vulnerable deck areas with suitable protection, and don't allow workers to drag blocks, pavers, wheelbarrows, or tools across finished surfaces. Heavy equipment should stay away from the pool edge unless the builder approves a safe access plan.
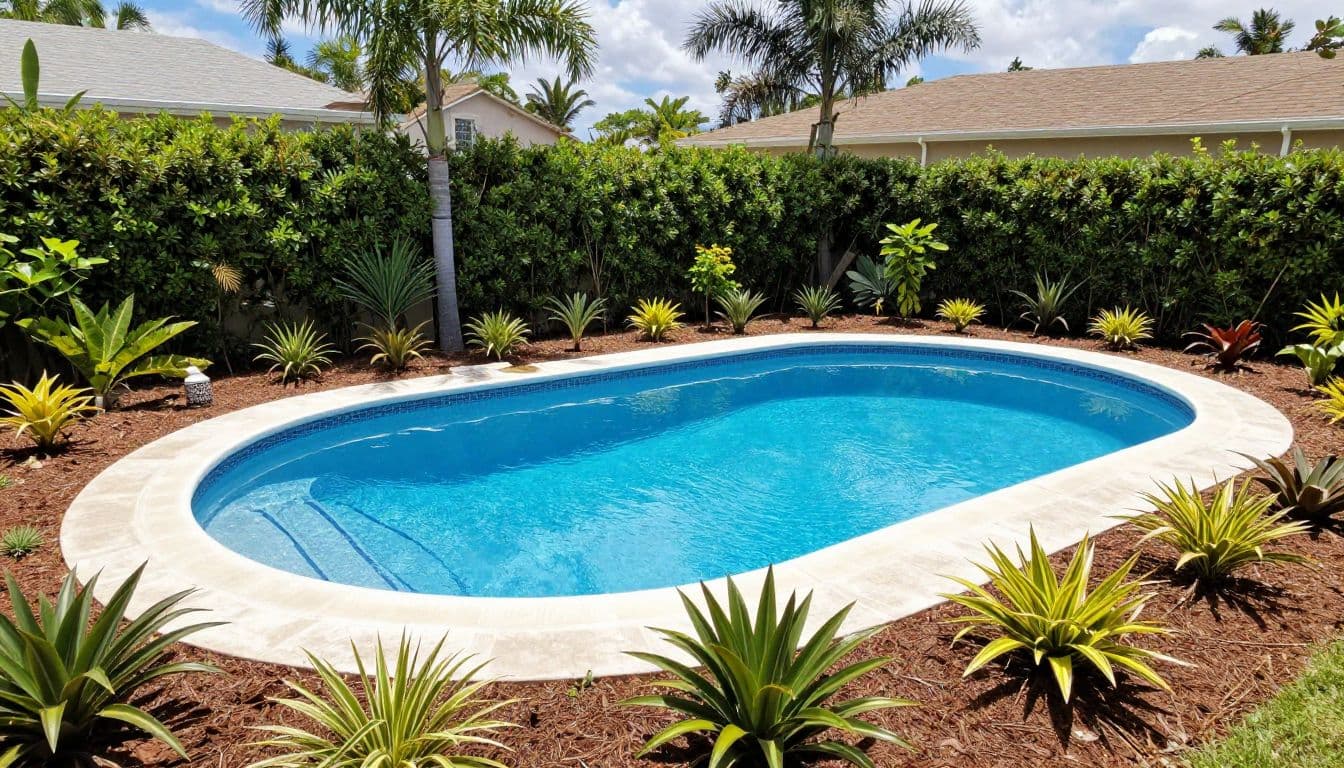
A written handoff is useful. Include the inspection status, utility locations, equipment access requirements, drainage concerns, and any surfaces that need protection.
Rebuild Grade and Drainage Before Permanent Finishes
The most important part of landscape restoration is often underground or nearly invisible. Proper grading directs water away from the home, pool deck, equipment pad, and neighboring property.
Start by removing loose debris and shaping the soil according to the approved site plan. Don't push soil against the pool coping or raise the finished grade high enough to bury tile, deck edges, vents, or equipment components.
Pool decks and surrounding soil should move rainwater away from the pool and house. Your contractor should account for roof runoff, screen enclosure drainage, yard slopes, downspouts, and the location of legal discharge points.
A yard can look level and finished while still sending stormwater toward the pump pad or home foundation.
Southwest Florida receives intense rain, so a shallow low spot can become a recurring problem. Catch basins, swales, downspout extensions, surface drains, or subsurface systems may help, but each solution needs a suitable discharge point. A French drain won't solve the problem if it has nowhere to release collected water.
Check drainage after a strong rain if possible. Watch where water gathers, how quickly it leaves the deck, and whether runoff splashes soil against the coping. Correct those issues before laying pavers or installing expensive planting beds.
Allow Disturbed Soil to Settle Before Permanent Finishes
Excavation and utility trenches leave soil less stable than untouched ground. Even when the surface looks smooth, buried fill may compress after rain and foot traffic.
Ask the pool or landscape contractor how the soil was placed and compacted. The right settling period depends on fill depth, soil type, moisture, weather, and the planned finish. Don't accept a fixed timeline without considering those conditions.
Permanent pavers, outdoor kitchens, walls, and other rigid features need a stable base. If you install them over settling fill, the result may include uneven joints, cracked mortar, leaning edges, or low spots that hold water.
During the waiting period, control erosion with temporary groundcover, erosion fabric, or carefully placed mulch where appropriate. Keep the area usable without locking in a final grade too soon.
This landscape restoration phase also provides time to test irrigation and observe drainage. A few weeks of weather can reveal problems that a newly smoothed yard hides.
Choose Florida-Ready Plants and Poolside Materials
Plant selection should match the actual conditions around your pool. Consider full sun, reflected heat from decking, salt exposure, chlorine splash, irrigation coverage, mature size, and leaf or fruit drop.
Avoid placing plants with aggressive roots close to the pool shell, deck, plumbing, or drainage structures. Thorny plants can create safety problems near walkways and seating areas. Plants that drop heavy leaves, berries, or flowers into the water can increase cleaning and maintenance.
Florida-friendly options may include coontie, clusia, dwarf podocarpus, and selected ornamental grasses, depending on the property's light, soil, and irrigation conditions. A qualified local nursery or designer should confirm the mature size and care needs of each species before installation.
Keep planting beds far enough from the coping to prevent soil and mulch from washing into the pool. Use drip irrigation where practical, and adjust spray heads so they don't constantly wet the deck, screen enclosure, or equipment pad.
Choose permanent surfaces with equal care. Review pavers, tile, coping, and concrete samples in direct sunlight because color and texture affect surface heat. Select materials with suitable traction for wet conditions, then follow the manufacturer's installation requirements.
Soil compaction and base preparation matter as much as the paver itself. A beautiful surface can shift if installers place it over unstable fill or ignore drainage. For ideas on finishes, water features, and outdoor layouts, browse these completed pool projects.
Use a Final Landscape Restoration Checklist
Before the landscaping crew starts, review the plan with everyone working on the property. Keep the checklist short enough to use during a site meeting.
- Confirm required pool inspections and corrections with the builder.
- Mark pool plumbing, electrical, gas, drainage, and irrigation locations.
- Photograph coping, tile, decking, equipment, and existing structures.
- Check that technicians can reach every equipment panel and shutoff.
- Set finished grades so water flows away from the pool and home.
- Test repaired irrigation before planting or installing mulch.
- Confirm that soil has settled or been properly compacted before permanent hardscape.
- Protect coping, tile, deck edges, and equipment during all remaining work.
- Review plant mature sizes and keep roots, debris, and irrigation spray away from the pool.
- Inspect drainage and finishes after the first heavy rain.
Keep copies of product information, plant tags, irrigation changes, warranties, and contractor contact details. Those records make future repairs easier.
Avoid These Common Restoration Mistakes
Several mistakes appear repeatedly after pool construction:
- Planting before the grade is settled: New plants won't correct a low area, and later grading may damage their roots.
- Covering inspection areas: Mulch, soil, decking, or plants can block access to work that still needs approval.
- Burial of pool equipment: Raising soil around the pad can trap water and restrict service access.
- Ignoring irrigation damage: A broken line may flood one planting bed while leaving another dry.
- Sending runoff toward the pool: Poor grading can carry soil, mulch, fertilizer, and debris into the water.
- Using heavy equipment too close to finished surfaces: Tire loads and vibration can chip coping or crack new decking.
- Choosing plants by appearance alone: Mature roots, falling debris, and water needs matter more than a plant's look at the nursery.
- Installing rigid finishes too soon: Settling fill can move pavers, outdoor kitchens, retaining walls, and walkways.
A landscape restoration contractor and pool builder should communicate before work begins, not after a drainage or finish problem appears.
Conclusion
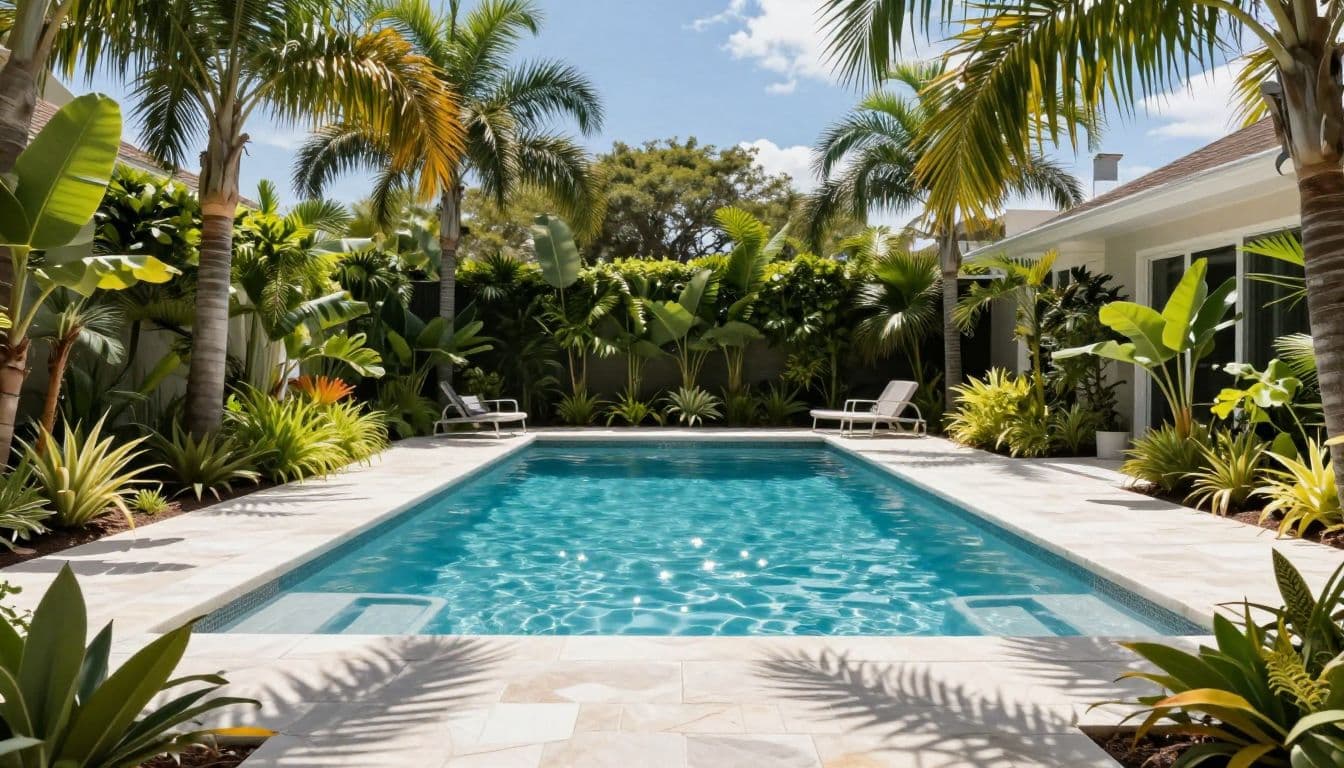
Landscape restoration after pool construction works best as a planned handoff. Complete inspections, protect the pool and equipment, restore drainage, repair irrigation, and give disturbed soil enough time to stabilize before adding permanent finishes.
The finished yard should do more than hide construction scars. It should direct rainwater away from the home, keep service areas accessible, and support plants and surfaces that suit Southwest Florida conditions. Careful sequencing turns a construction site into a backyard that stays attractive and functional for years.