
How to Plan Pool Skimmer Placement in a Gunite Pool
A skimmer can only collect surface debris effectively when its location works with the pool's shape, wind, water circulation, and equipment plan. That makes pool skimmer placement an early design decision, not a detail to settle after the gunite shell is finished.
Homeowners can help by observing wind and debris patterns, marking likely maintenance paths, and reviewing the pool layout. The final location, number of skimmers, plumbing, and flow rates must be confirmed by the pool designer, plumbing professional, and local code authority.
How pool skimmer placement starts with shape and circulation
A skimmer pulls water from the surface and sends it through the circulation system. Its position should support a predictable surface flow pattern instead of competing with steps, ledges, waterfalls, spas, or strong return jets.
Rectangular and freeform pools need different planning
A simple rectangle usually gives the designer clearer wall runs and more predictable surface movement. A freeform pool may have several coves, narrow sections, curves, or wider areas where floating debris can collect. Those changes can affect how many collection points the design needs and where they can work effectively.
San Juan Pools & Spas describes its designs as ranging from sleek rectangles to elaborate freeform shapes. That variety matters because a skimmer plan should follow the actual water shape, not a standard location copied from another pool.
For a long pool, the designer may study how water travels along the longest edges. For a compact or irregular pool, circulation may require a different arrangement. There is no universal wall, distance, or skimmer count that fits every gunite pool.
Mark obstructions before choosing a wall
Place the proposed steps, tanning ledge, spa connection, sun shelf, water feature, and entry points on the plan before selecting skimmer locations. These features can change surface movement and may limit access to a skimmer lid.
Return jets and main drains also belong on the same drawing. A skimmer should work with those components as part of one circulation system. Review the full plan through the builder's custom pool construction process, especially before plumbing and deck work begins.
Account for wind and floating debris
Wind often influences where leaves, pollen, insects, and other floating material gather. Still, a homeowner's first observation is a planning clue, not a final hydraulic answer.
Observe where debris naturally collects
Watch the proposed pool area at different times of day and in different weather. Look at nearby trees, fences, screen enclosures, the house, and taller structures that may redirect air. A breeze that feels consistent in one part of the yard can behave differently beside a wall or across an open deck.
If leaves already collect along one edge of the yard, that edge deserves attention during the design review. Note whether debris tends to settle in a corner, drift along a long wall, or gather near an obstruction. Photos taken after windy conditions can help the designer understand what you see.
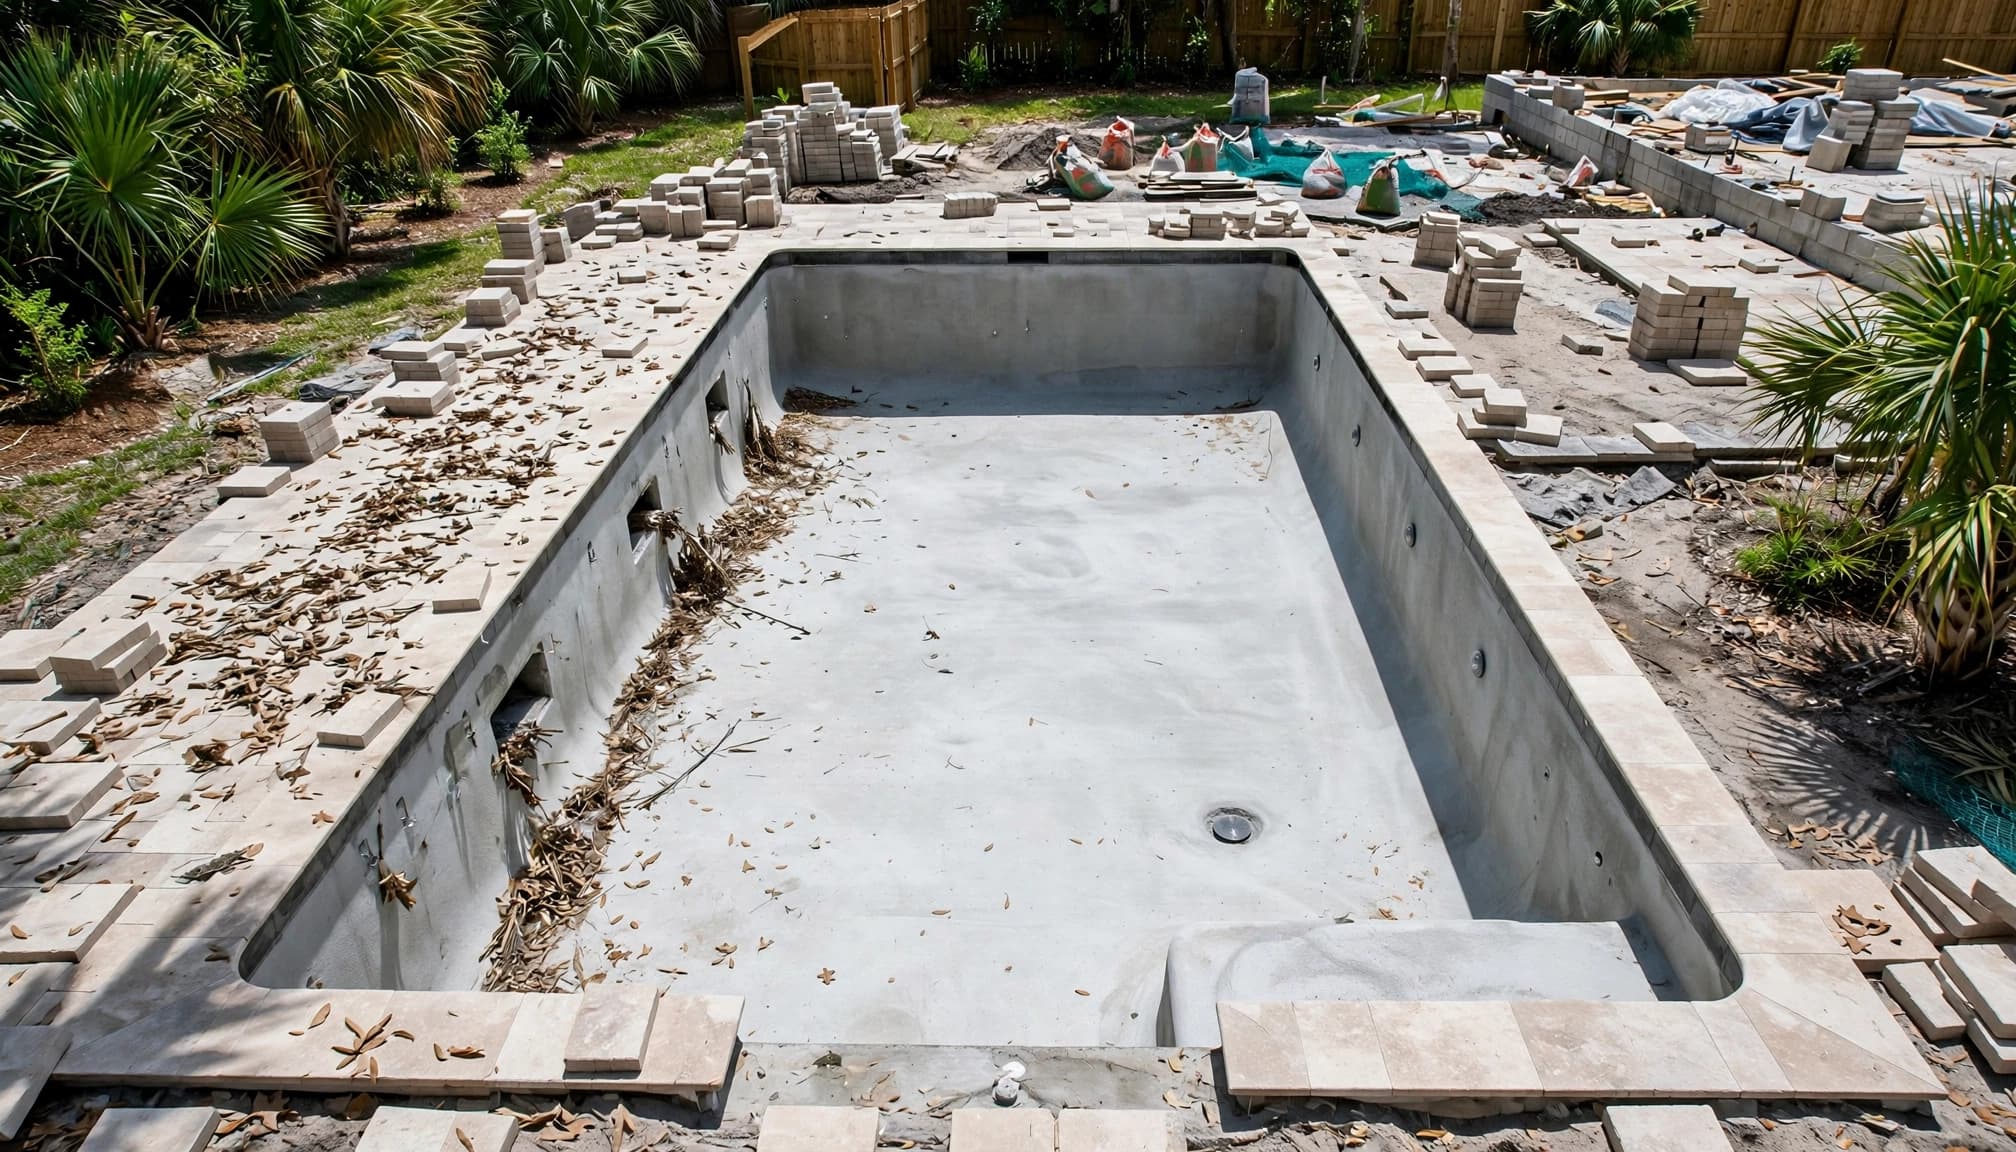
Treat wind direction as one planning factor
Prevailing wind can guide the first conversation about pool skimmer placement, but the designer must also account for return flow, pool geometry, pump performance, and plumbing design. Wind alone can't determine the correct wall.
A screen enclosure may alter surface movement after installation. Landscaping can also change as trees grow. Therefore, don't place every skimmer solely where today's leaves appear. Use the observed pattern alongside the engineered circulation plan.
The most useful wind observation is a repeated debris pattern, not a single windy afternoon.
Confirm the hydraulic balance before approving locations
Good surface collection depends on more than putting a skimmer near visible debris. The pool's suction and return system must move water at an appropriate rate without creating an unbalanced flow pattern.
Coordinate skimmers with return jets
Return jets introduce filtered water back into the pool. Their direction and position influence how water travels across the surface and toward the skimmers. If a return jet pushes water away from a skimmer, surface debris may circulate longer or settle in another area.
Ask the pool professional to show the intended direction of surface flow on the plan. The drawing should identify skimmers, return jets, suction lines, and major features together. A visual layout makes it easier to spot conflicts before plumbing is installed.
The final jet orientation also needs professional confirmation. Exact flow depends on pipe sizing, fittings, pump selection, water depth, and the finished pool design.
Understand what main drains can and cannot do
Main drains help move water through the lower portion of the pool and support circulation. They don't replace skimmers because they don't collect floating debris at the surface.
The designer should balance surface collection with lower-water circulation. That review becomes more important when the pool has multiple depths, a connected spa, a deep end, a tanning ledge, or water features. Local requirements may also apply to drain configuration, suction safety, and related plumbing.
Ask for the equipment and hydraulic plan rather than assuming that more openings automatically produce better circulation. The plumbing professional should confirm how each line connects to the pump, filter, valves, and other equipment.
Protect access around the finished pool
A technically workable skimmer can still become frustrating if the lid sits under furniture, beside a narrow walkway, or in a location that conflicts with the finished coping.
Coordinate the lid with coping and deck layout
Review skimmer lids alongside the coping, tile, deck joints, screen enclosure, drainage slopes, and planned furniture. The lid should fit the finished surface cleanly and remain reachable after the deck is poured.
Avoid placing it where a gate, outdoor kitchen, fire feature, planter, or large seating area will block access. Also consider how the lid will look beside decorative coping. A small location change during design may prevent a visible conflict after construction.
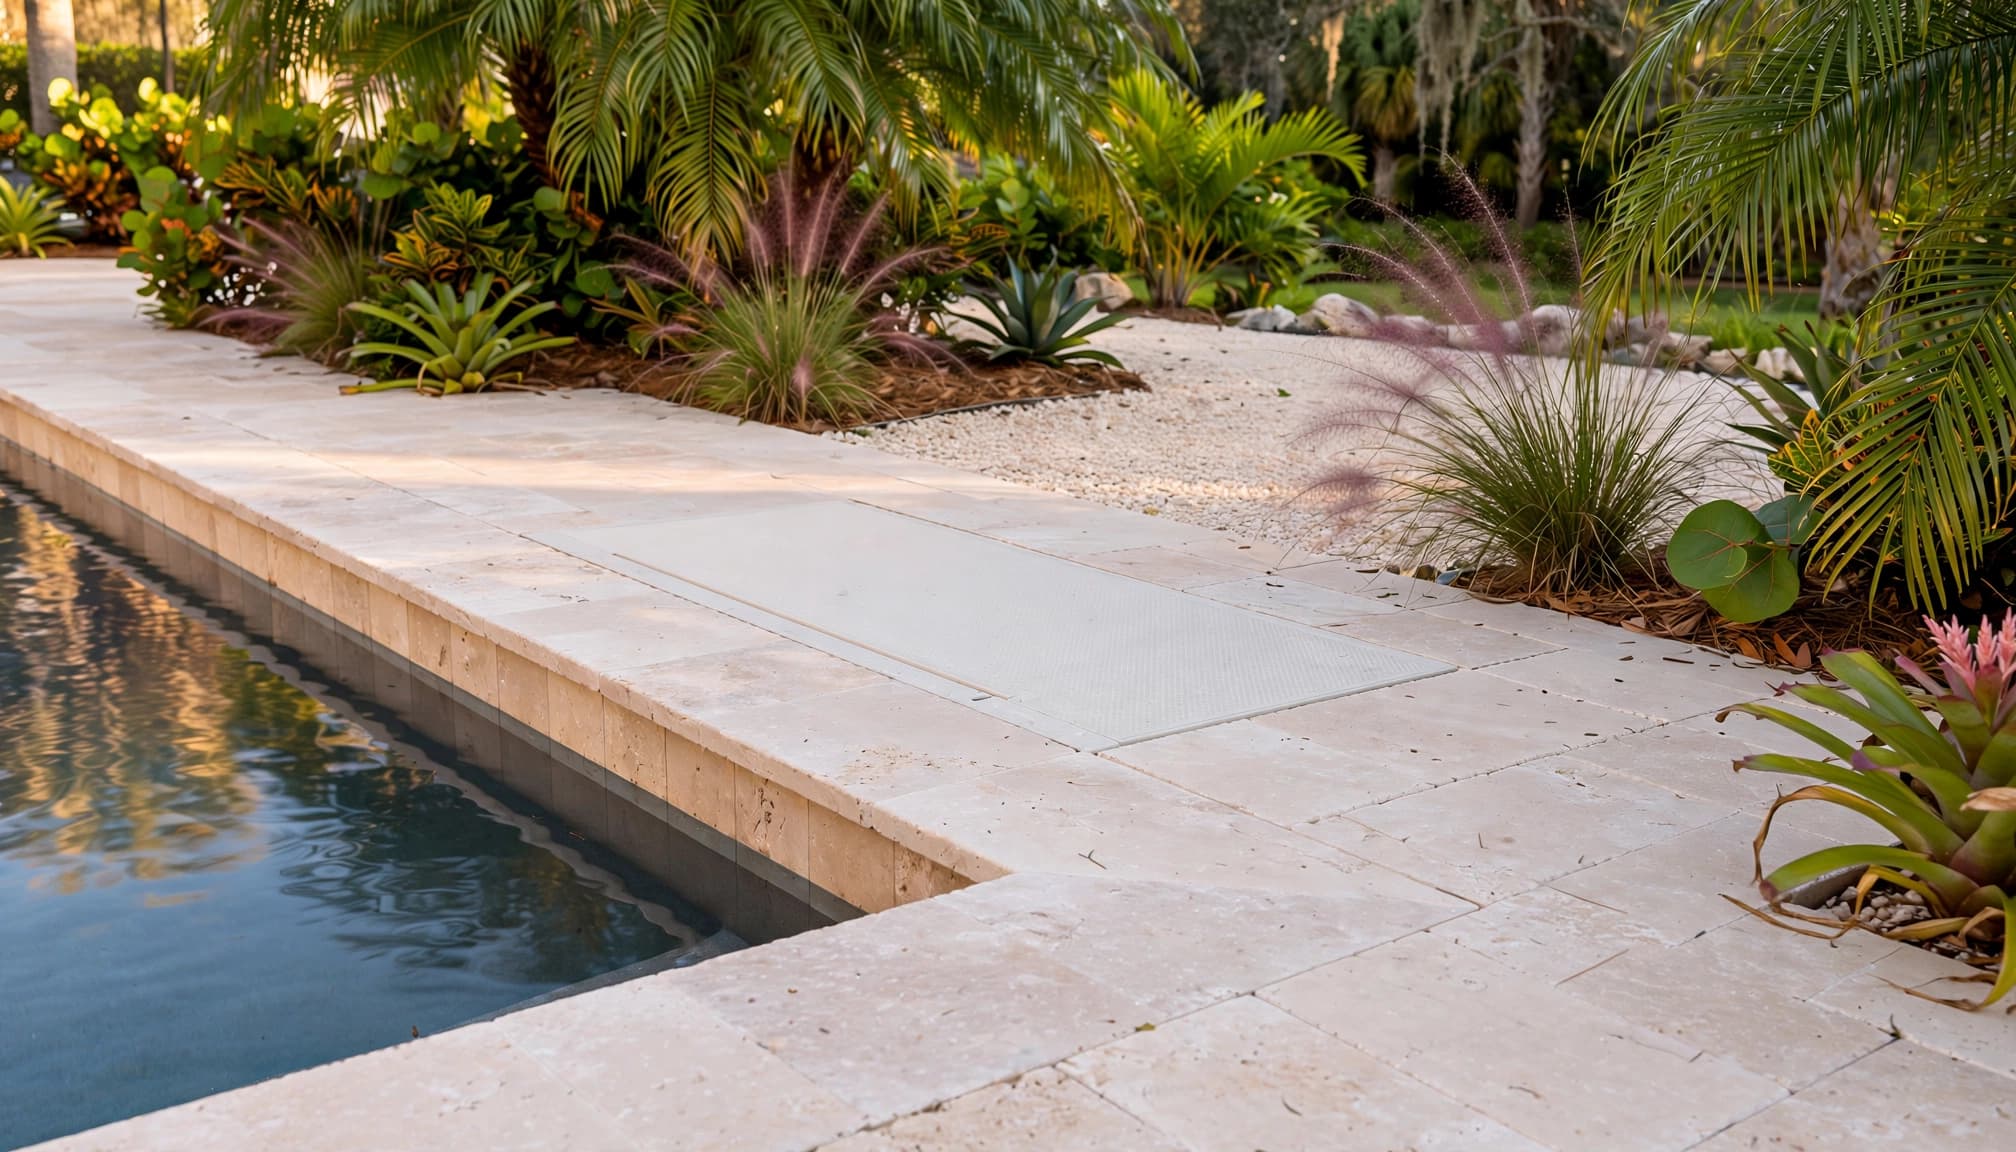
Preserve routine maintenance access
Someone will need to open the lid, remove the basket, inspect the opening, and clean the surrounding area. Leave enough practical space for those tasks without requiring a person to step into landscaping or move heavy furniture.
Maintenance access also includes the route between the pool and equipment area. The skimmer location may be hydraulically acceptable but inconvenient if its plumbing path creates complications near the deck or other structures. Ask the builder to show both the access route and the finished grade around each lid.
Match skimmers to equipment capacity and pool features
The pump, filter, valves, suction lines, return lines, and skimmers need to work as one system. Equipment capacity can affect the number and arrangement of suction points, but the answer depends on the specific design.
Review the equipment plan as a complete system
Ask which pump and filter configuration the design uses, how skimmer lines connect to the equipment pad, and how valves will divide or combine suction. The pool professional should confirm that the system can support the proposed flow without relying on an assumption about a standard pool size.
A larger surface area, connected spa, or multiple water features may change the circulation needs. The same applies to waterfalls, deck jets, bubblers, or other features. These options are among the custom pool and spa features San Juan Pools & Spas discusses, but each project still requires its own plumbing review.
Don't treat skimmer placement as a standalone decision
A skimmer location affects coping, plumbing, deck layout, equipment access, and daily maintenance. Moving it late may require changes to several parts of the plan.
Before approving the layout, ask the builder to review the pool shell, waterline tile, return jets, main drains, equipment pad, and planned features together. A coordinated drawing is more useful than a skimmer mark viewed by itself.
Confirm the plan before construction reaches the point of no return
Skimmer placement should be reviewed while changes are still practical. The construction sequence matters because plumbing, gunite, backfill, coping, and deck work can lock in decisions at different stages.
Review placement before plumbing and gunite work
Ask for the proposed skimmer locations before plumbing is installed and before the gunite shell is shot. Confirm the wall, finished waterline, lid position, pipe route, and relationship to nearby steps or ledges.
San Juan Pools & Spas lists permitting, excavation, form and steel work, shot concrete, pre-backfill, plumbing and backfill, brick and tile, deck forming, and deck installation among its construction steps. Skimmer questions belong in the design and plumbing reviews before the relevant work is covered.
Get technical questions answered by the right professional
The pool designer can explain how the locations fit the layout. The plumbing professional can confirm line sizing, flow, valves, and equipment connections. The local code authority can identify requirements that apply in your jurisdiction.
Ask who is responsible for confirming each part. Written plan notes or an updated drawing can prevent confusion when several trades work on the project. Homeowners should not approve a location based only on appearance or on a rule used for another pool.
Pool skimmer placement checklist
Use this list during the design meeting:
- Observe where leaves and surface debris collect around the proposed pool area.
- Record nearby trees, walls, screens, buildings, and other features that may change wind movement.
- Review the pool shape, depth changes, steps, ledges, spa, and water features.
- Mark skimmers, return jets, main drains, suction lines, and equipment connections on one plan.
- Ask how the return flow is expected to move surface water toward the skimmers.
- Confirm that the pump, filter, valves, and suction plumbing match the proposed design.
- Check that every skimmer lid remains reachable after coping, decking, furniture, and landscaping are installed.
- Review local requirements with the responsible designer, licensed professional, or code authority.
- Approve the locations before plumbing, gunite, backfill, and deck work make changes harder.
Frequently asked questions
Where should skimmers go in a new gunite pool?
They should go where the engineered circulation plan can collect surface water effectively while remaining accessible for cleaning. Wind, pool shape, return jets, main drains, features, plumbing, coping, and equipment capacity all matter. The pool designer and plumbing professional must confirm the final locations.
Should skimmers face the prevailing wind?
Wind direction can help identify likely debris movement, but it shouldn't decide the placement by itself. Observe repeated debris patterns and share them with the designer. The final plan must also account for return flow, suction plumbing, pool geometry, equipment, and local requirements.
Can a main drain replace a pool skimmer?
No. A main drain supports circulation in the lower part of the pool, while a skimmer collects floating debris at the surface. Both may be part of the circulation design, but they perform different functions. Drain and suction arrangements also require professional and code review.
When should skimmer locations be finalized?
Review them during design, before plumbing and gunite work. Recheck the locations before backfill, coping, and deck installation. This timing allows the team to resolve conflicts with steps, ledges, equipment, screen enclosures, and maintenance access while changes remain practical.
Conclusion
Good pool skimmer placement starts with the way your actual yard behaves, then becomes part of a complete circulation and construction plan. Observe wind and debris, review the pool shape and features, protect access around the finished deck, and ask for hydraulic confirmation before work begins.
A skimmer should never be selected as an isolated opening in the wall. When the designer, plumbing professional, builder, and local code authority review the whole system together, the finished gunite pool is easier to maintain and more likely to perform as planned.