Cape Coral Pool Design for Vacation Rental Homes
Guests often decide whether a vacation rental feels worth booking before they read the amenities list. Clear pool photos, shaded seating, and an easy path from the lanai can make the backyard feel like part of the stay, not an afterthought.
For owners, good Cape Coral pool design has to do more than look attractive. It must handle Southwest Florida sun, heavy rain, storm preparation, frequent guest use, and quick cleaning between reservations. A strong plan balances a memorable visual feature with surfaces, equipment, and safety details that property managers can handle.
Start with the guest experience, then build the pool around the property's real maintenance needs.
Start With the Rental Property and Guest Profile
Before choosing tile or water features, study the home, lot, and likely booking pattern. A pool that suits a family-friendly three-bedroom home may feel wrong for a compact waterfront escape.
Plan for the way guests use the pool
Vacationers use pools in different ways throughout the day. Children need a shallow, visible entry area. Adults often prefer a sun shelf where they can sit in the water. Larger groups need open swim space and enough deck area for towels, chairs, and coolers.
A practical layout may include a broad sun shelf, comfortable steps, and a simple rectangular swimming area. Keep the steps visible against the pool interior finish, and avoid oversized islands that consume space without adding useful seating.
Place furniture where guests can watch the water while keeping walking paths clear. Fewer awkward transitions also make cleaning and property inspections easier between reservations.
Match the pool to the house and lot
Align the pool with the home's primary sightline whenever possible. A clean view from the living room, kitchen, or covered lanai gives guests a stronger first impression when they arrive and creates better listing photos.
Waterfront homes may benefit from a long pool axis that draws the eye toward the canal. However, the design still needs room for required barriers, equipment access, and storm preparation. An infinity edge can suit some lots, but the grade, view, budget, and maintenance plan must support it.
Review Cape Coral custom pool projects before selecting proportions, coping, or feature combinations. Real local examples can help you compare compact layouts with larger resort-style plans.
Cape Coral pool design features that photograph well
A rental pool should have one clear visual focal point. When every wall, ledge, fountain, and finish competes for attention, photos can look busy instead of inviting.
Use one strong visual anchor
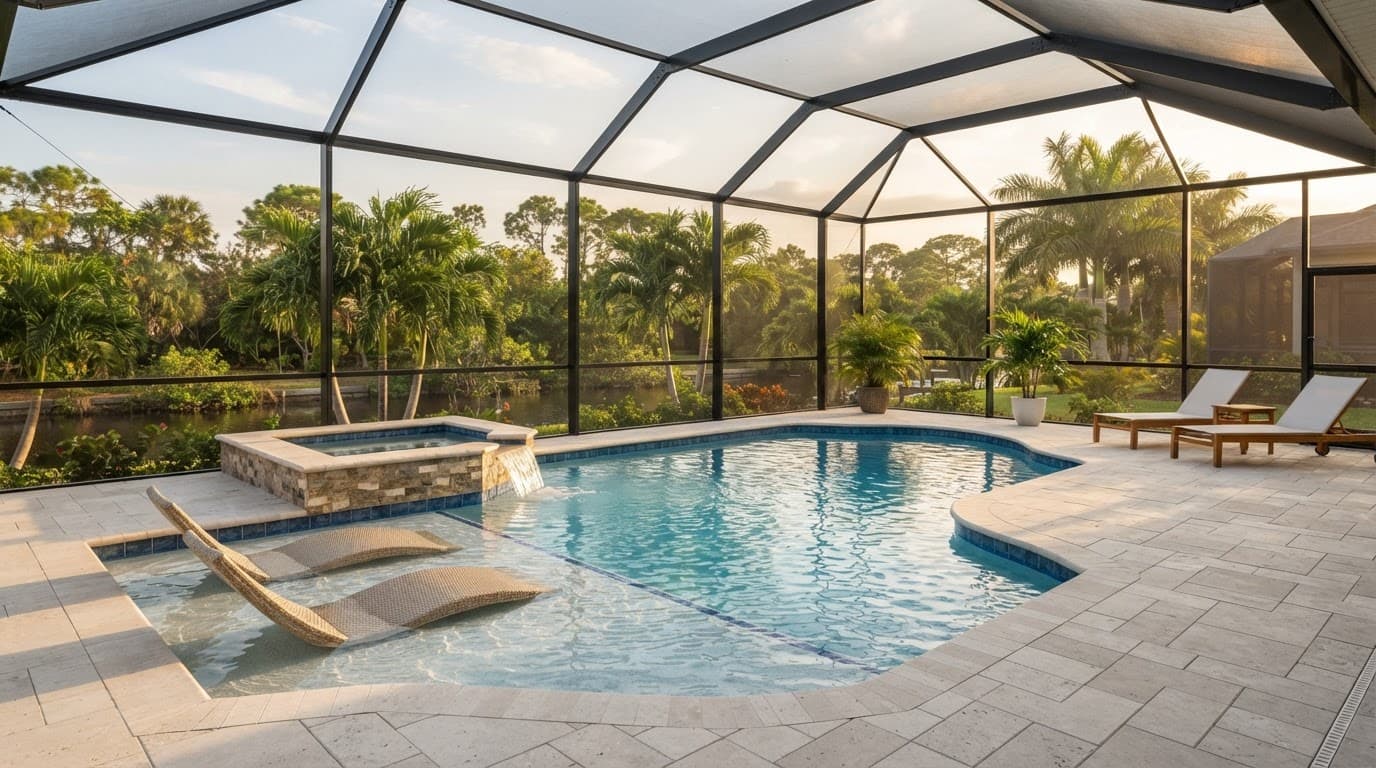
A wide tanning ledge, raised spa spillover, narrow waterfall, or line of deck jets can give the pool a recognizable feature. Choose one primary focal point, then use smaller details to support it.
For example, a pale pool interior with contrasting waterline tile and a raised spa creates definition without overwhelming the scene. A few bubblers on the sun shelf can add movement in photos, while a fire bowl can create a warmer evening setting when local clearances and enclosure conditions allow it.
The strongest Cape Coral pool design often uses simple geometry. Rectangles, clean curves, and well-proportioned steps photograph better than complicated shapes that leave little usable deck.
Add shade, seating, and evening appeal
Southwest Florida sunshine is attractive in photographs, but guests also need relief from heat. A covered lanai, well-placed umbrella sleeves, or a shaded sitting area can make the pool more comfortable throughout the day.
Keep umbrellas removable and furniture easy to secure before storms. Choose outdoor lighting that shows steps, seating, and water features without creating glare in the main camera view.
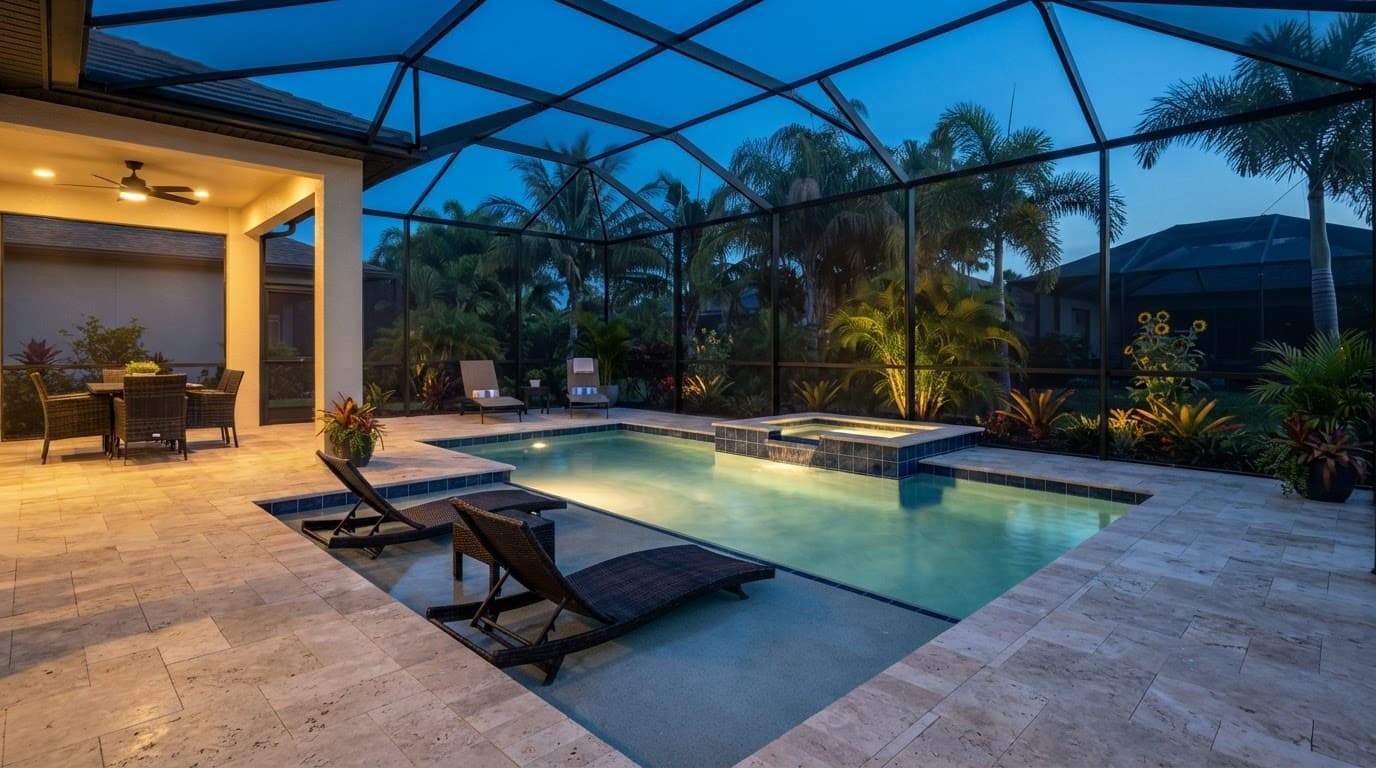
Warm pool lighting and subtle landscape lighting can improve evening photos. Keep the lighting scheme restrained, because excessive color-changing lights may look dated and create more equipment for managers to maintain.
Choose Materials for Heat, Storms, and Turnover
Pool finishes face a demanding routine in a vacation rental. Heat, sunscreen, rain, debris, chlorine, and repeated furniture movement all affect the outdoor environment.
Select surfaces that tolerate heavy use
Textured pavers or properly finished concrete can provide a practical deck surface when the material has suitable slip resistance and drainage. The best selection depends on the site, installation method, pool design, and maintenance plan.
Avoid sharp coping edges and narrow deck strips that make furniture placement difficult. Light and medium finishes often keep the space looking bright, while extremely dark surfaces can show dust and water marks more clearly. Your builder can help match the interior finish to the pool's depth, lighting, and water chemistry.
Keep planting simple around the lanai. Palms and tropical foliage can frame a pool beautifully, but plants that shed heavily near the water add work after every storm. Use planting beds that leave the screen enclosure, deck drains, and equipment pad accessible.
Make equipment easy to service
Place pumps, filters, heaters, automation panels, and chlorination equipment where technicians can reach them without moving guest furniture. The equipment pad should also sit far enough from seating areas that normal pump noise doesn't dominate the lanai.
Automation can help a property manager monitor schedules and adjust routine settings, but it doesn't remove the need for inspections. Autofill systems also need periodic checks for leaks and proper operation.
If you're considering salt chlorination, ask a licensed pool professional about equipment compatibility, finish selection, corrosion risks, and manufacturer requirements for the exact system. Salt systems are common in Southwest Florida, but their maintenance needs depend on the equipment and installation.
A builder that offers custom pool design and construction can coordinate the pool shell, equipment, deck, screen enclosure, and finish selections as one plan.
Compare Budget-Conscious and Upscale Options
A rental pool doesn't need every available feature to look polished. Owners can create strong photographs with a controlled footprint, durable materials, and one memorable feature.
The table below shows how practical and upscale choices can differ without treating either approach as a fixed package.
| Pool element | Budget-conscious approach | Upscale approach |
|---|---|---|
| Pool shape | Compact rectangle or simple geometric layout | Larger custom shape with separate activity areas |
| Water entry | Standard steps with a modest sun shelf | Broad baja shelf with bubblers and submerged loungers |
| Spa | No spa or integrated raised spa | Raised spillover spa with upgraded tile and lighting |
| Deck | Textured concrete or standard pavers | Premium pavers with expanded lounging zones |
| Lighting | Basic pool and step lighting | Layered pool, feature, lanai, and landscape lighting |
| Maintenance | Essential automation and easy-access equipment | Expanded automation, autofill, and carefully zoned features |
When a practical package fits
A budget-conscious pool works well when the home's lot is compact or the owner wants fewer maintenance points. A simple shape reduces difficult corners, while a modest sun shelf adds a strong guest feature without taking over the pool.
Spend first on the footprint, deck circulation, screen enclosure, equipment access, and drainage. Add decorative features only after those needs are covered. Plumbing and electrical provisions can be discussed during planning if future additions are likely.
When upscale details make sense
An upscale design may suit a larger waterfront home, a property with a strong outdoor living area, or an owner building a complete backyard renovation. A raised spa, premium finish, outdoor kitchen, fire feature, or expanded lanai can create a more finished setting.
However, every added feature brings equipment, surfaces, controls, or cleaning tasks. The right question is not how many upgrades fit the budget. It is whether each upgrade improves the guest experience enough to justify its care.
Plan Safety, Permits, and Storm Procedures Early
Safety details affect the pool layout, screen enclosure, doors, windows, furniture placement, and operating procedures. Include them before the design reaches the construction stage.
Treat the barrier as a separate design package
Cape Coral's March 1, 2026 notice says the city requires a separate safety barrier permit for pool barriers, including fences, screen enclosures, and screen room pan roofs. Approval of the pool permit doesn't approve the barrier permit.
Cape Coral's pool permit and safety barrier permit are reviewed separately, so the screen enclosure needs its own place in the permit plan.
Florida Statutes Chapter 515, Section 515.29, sets a residential barrier baseline of at least four feet high. The barrier must limit child-sized openings, sit around the pool perimeter, and include a gate that opens away from the water, closes automatically, and latches securely.
Cape Coral guidance also references openings that don't allow a four-inch-diameter sphere to pass. When a dwelling wall forms part of the barrier, the city's above-ground pool guidance cites UL 2017 exit alarms for doors and windows that provide direct access, with an 85 dBA rating at 10 feet.
Confirm the exact requirements for your property with Cape Coral Development Services, a licensed pool contractor, and the appropriate design professional. Existing fences, screen rooms, doors, and lot conditions can change the compliance path.
Account for storms and frequent turnover
Southwest Florida pool planning must include wind, heavy rain, debris, drainage, and storm preparation. Cape Coral guidance states that portable pools capable of holding 24 inches or more of water must be anchored sufficiently to prevent movement during a hurricane.
For permanent pools, ask licensed professionals about site drainage, structural requirements, anchoring, flood exposure, and the screen enclosure's design. Don't assume an existing fence or enclosure meets current requirements.
Create a simple property procedure for securing furniture, removing loose umbrellas, checking equipment, and documenting the pool area before severe weather. After a storm, managers should know who checks the enclosure, water level, equipment, deck drains, and electrical components.
Final Planning Checklist for Owners
Before approving a pool plan, review these items with your builder and property manager:
- Confirm the pool's main purpose, expected guest age range, and typical group size.
- Position the water where guests can see it from the main living areas and lanai.
- Include a useful sun shelf, comfortable steps, and enough open swim space.
- Keep deck paths clear for furniture, towels, inspections, and cleaning.
- Select slip-resistant surfaces with comfortable coping and reliable drainage.
- Limit planting near the pool if falling leaves would increase service calls.
- Locate equipment where technicians can reach it without disturbing guests.
- Decide whether automation, autofill, salt chlorination, or heating fits the operating plan.
- Separate the pool permit from the safety barrier permit in the project schedule.
- Confirm fence, screen enclosure, gate, door, window, and alarm details with Cape Coral officials.
- Prepare a written storm procedure for furniture, umbrellas, equipment, and post-storm checks.
- Ask for a maintenance schedule that matches the property's turnover frequency.
Conclusion
A successful vacation rental pool begins with the way guests see, enter, use, and leave the backyard. Strong Cape Coral pool design combines a clean photographic focal point with shade, comfortable circulation, durable finishes, accessible equipment, and a barrier plan approved for the specific property.
The most attractive pool isn't always the one with the most features. It is the one that looks inviting in a listing, works for real guests, and remains manageable after the tenth turnover and the next Southwest Florida storm.