
Pool Plumbing Pressure Testing Before Pool Finish
A beautiful pool interior can hide expensive plumbing problems once the surface is installed. That's why pool plumbing pressure testing belongs on every Cape Coral homeowner's pre-finish checklist.
Pressure testing gives the builder a chance to check buried and concealed lines while connections remain accessible. It also creates a clear checkpoint before plaster, pebble, tile, or another interior finish covers the pool shell. Knowing what should be tested and documented helps you approve the next construction step with confidence.
Why testing comes before the interior finish
Pool plumbing is easiest to inspect before the interior surface covers the shell and fittings. If a connection leaks after finishing, repairs may require draining the pool, removing part of the finish, or opening areas that were meant to stay intact.
The construction sequence matters
San Juan Pools & Spas lists plumbing and backfill as step 7 in its published construction process. Pool equipment appears at step 12, while interior finish is step 14. That sequence creates a natural point for plumbing verification before the final surface work.
The company also states that the pool shell needs a minimum of 28 days of curing time for maximum strength. The shell cure and the plumbing inspection address different concerns, but both occur before the pool is ready for its final interior finish.
You can review the builder's pool construction process in Cape Coral to see how plumbing fits into the larger project schedule.
Unfinished access makes corrections easier
Before finishing, the contractor can still reach exposed pipe ends, equipment connections, water-feature lines, and penetrations through the shell. A pressure test can reveal a problem while those areas remain visible.
That does not mean every future plumbing issue becomes impossible after finish installation. It means the pre-finish inspection is the right time to catch construction-related leaks and confirm that the planned lines are ready for the next stage.
A homeowner should avoid treating the finish date as an automatic approval. First, ask what testing has been completed and what records support the result.
What pool plumbing pressure testing actually checks
Pool plumbing pressure testing checks whether the installed circulation lines hold pressure under the conditions selected for the project. A professional typically isolates a line or group of lines, connects testing equipment, records the starting condition, and monitors the system for a defined period.
The exact pressure, test duration, medium, and pass criteria can vary. They should come from the project requirements, applicable standards, equipment guidance, or the contractor's established procedure. A responsible builder should be able to explain those details in plain language.
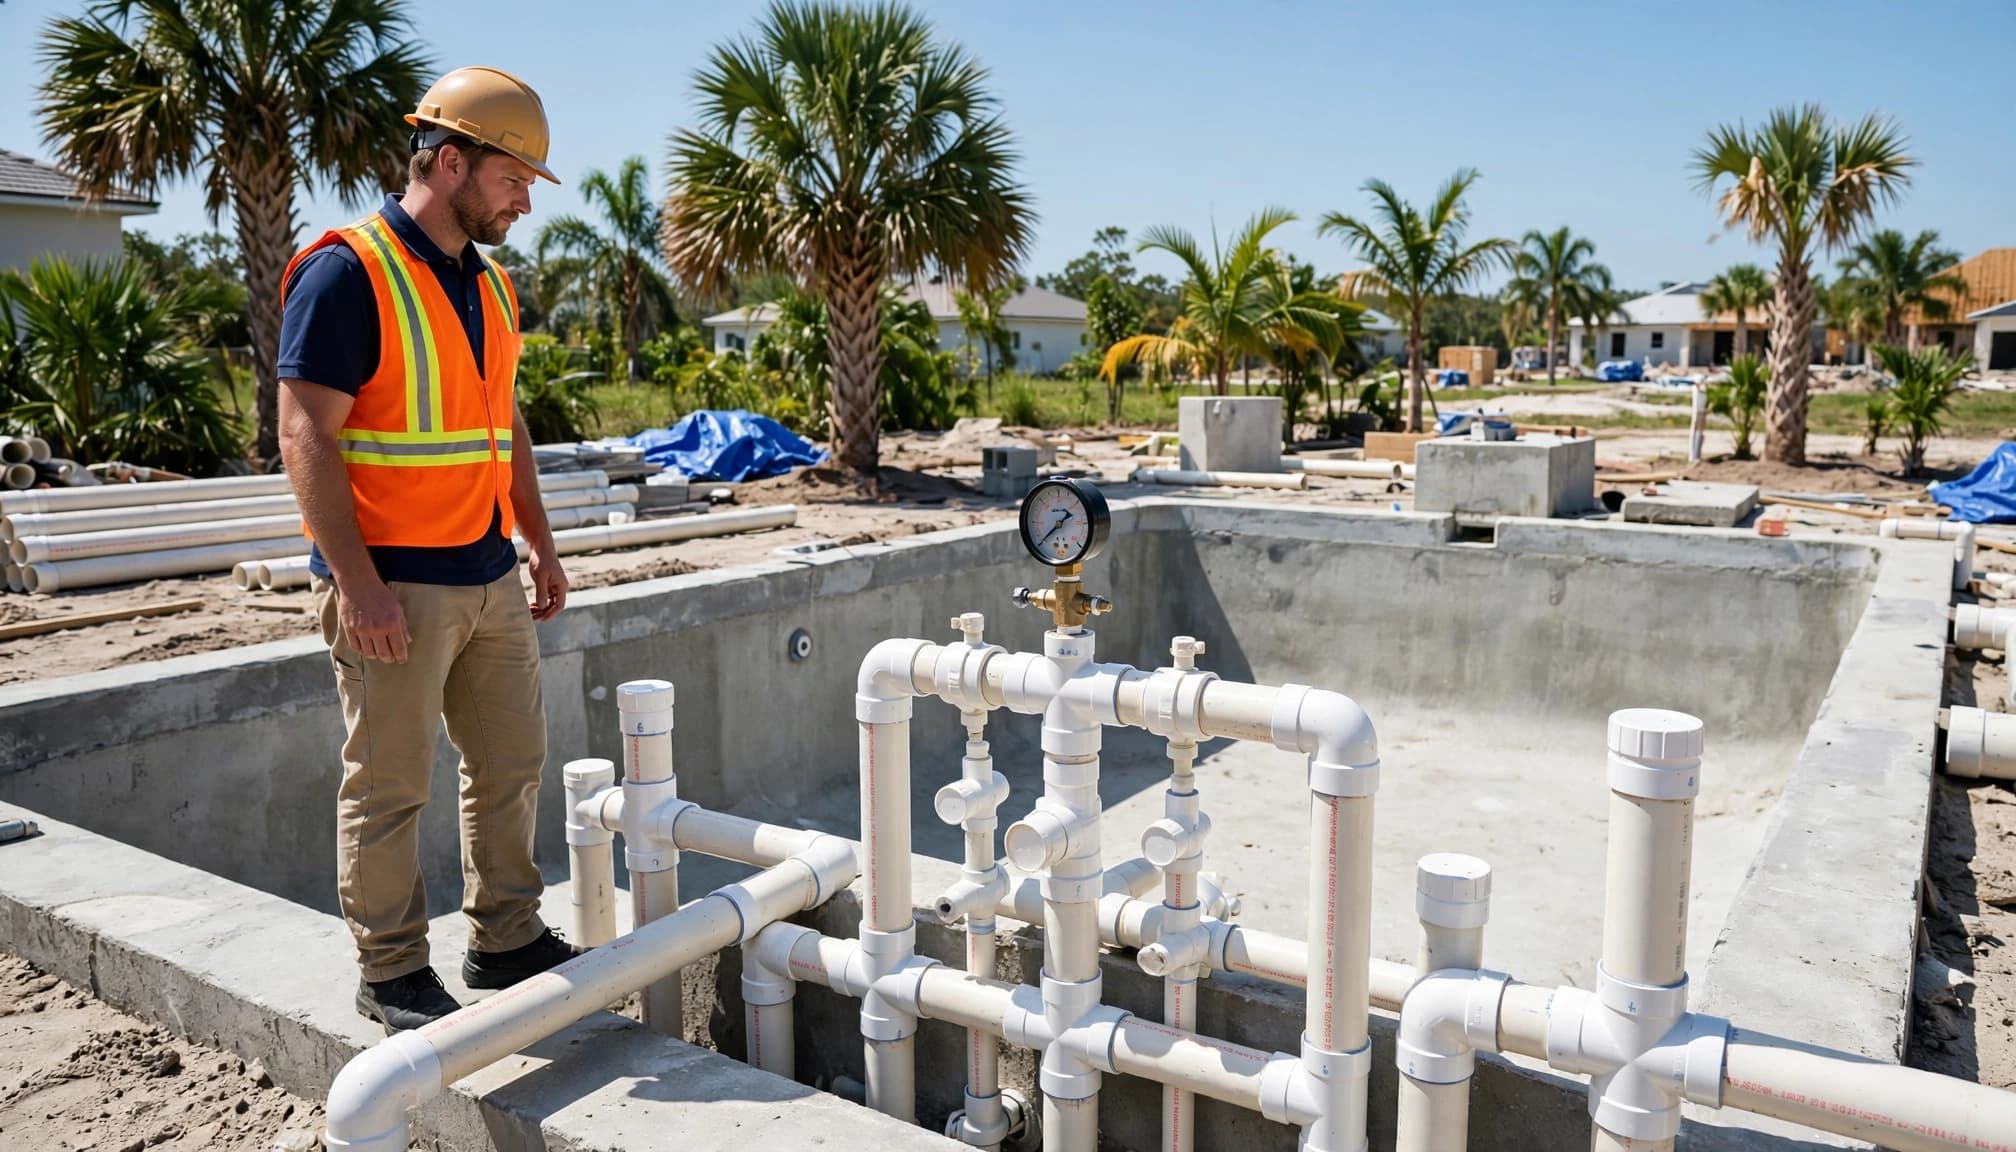
The test may help identify a leaking glue joint, damaged pipe, loose connection, failed fitting, or an improperly capped line. It can also confirm that separate sections of the system were included instead of checking only the main circulation path.
However, a passing test is not a promise that plumbing can never develop a problem. Construction activity, later equipment changes, ground movement, and aging can create issues after the test. The value of testing is that it establishes a documented inspection before the finish hides the work.
Homeowners should also understand what the test does not prove. It does not confirm that pumps are correctly sized, valves are programmed properly, lights work, or water chemistry is balanced. Those items require separate inspections.
What homeowners should verify before interior finish
Before approving plaster, pebble, tile, or another interior finish, ask for a clear explanation of the plumbing inspection. You don't need to perform the test yourself, but you should know what was included and what the contractor recorded.
Confirm every planned line was included
A basic pool may have suction and return lines, but custom projects often contain additional plumbing. Ask whether the inspection covered:
- Main drains and skimmer lines
- Wall returns and spa returns
- Raised spa plumbing
- Waterfalls, deck jets, fountains, bubblers, or other water features
- Sunsafe shelf or tanning ledge circulation
- Autofill or similar water-management connections
- Future sleeves or capped lines shown in the plans
- Separate lines connected to heaters, filters, chlorinators, or pumps
The names and layout should match the approved plans. If the project includes a raised spa or a water feature, those lines deserve individual attention because they may run through different sections of the shell and equipment area.
Ask the contractor to identify each line physically before the finish crew arrives. A simple labeled sketch or marked plan can prevent confusion later.
Request useful documentation
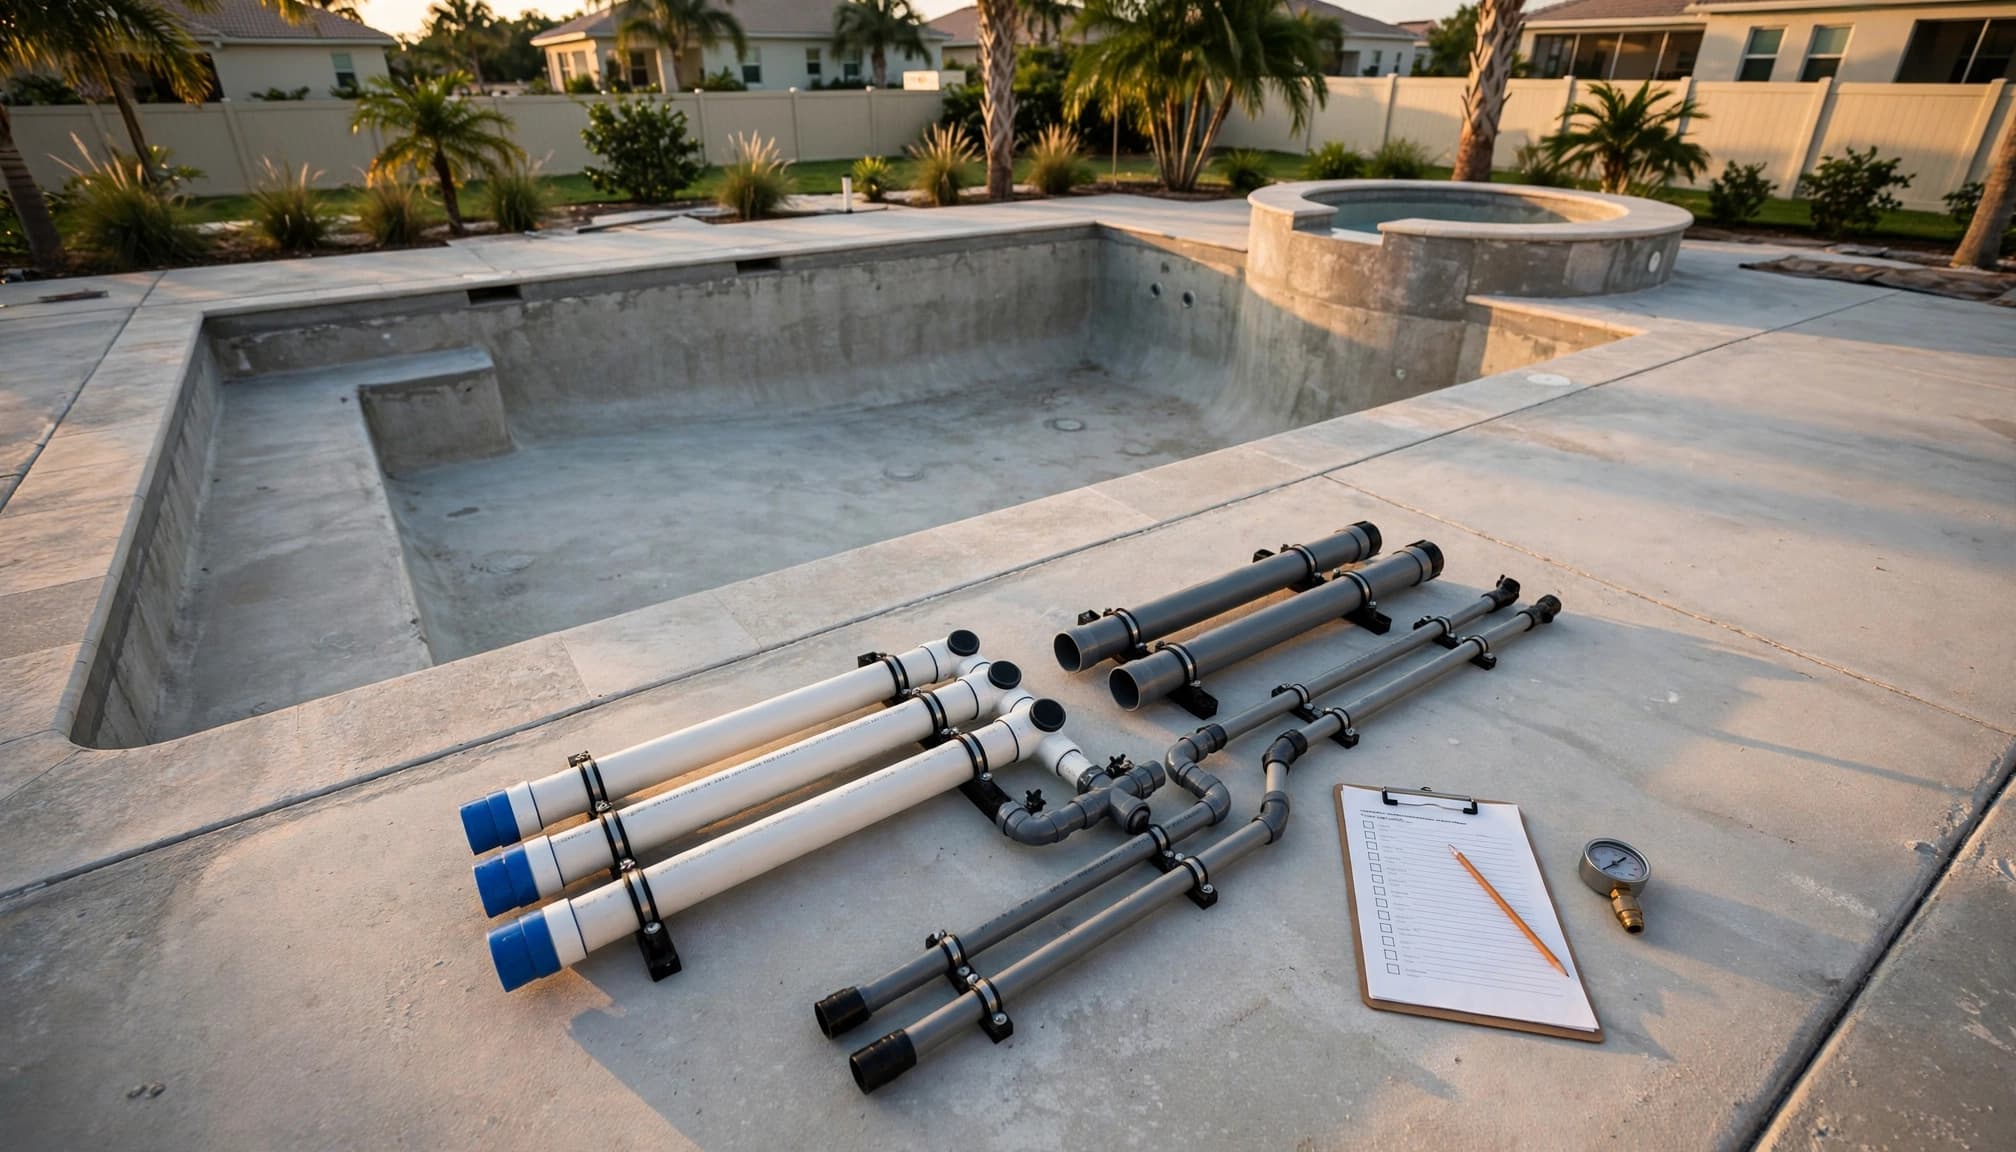
A strong record should contain more than a statement that the plumbing "passed." Ask for the date, the section tested, the method used, the starting reading, the ending reading, the test duration, and the result.
The document should also identify any line that was excluded and explain why. For example, a feature line may need separate testing after a connection is completed. That situation should be recorded rather than left unclear.
Photographs can add useful context. Pictures of capped lines, accessible connections, and the gauge setup help connect the written report to the actual pool. Keep those records with your contract, plans, equipment information, and finish approval paperwork.
Pressure testing is not the same as running the equipment
Many homeowners see the pump operate and assume the plumbing has been tested. Those are separate checks with different purposes.
Equipment operation checks movement
When a pump runs, water moves through the system under operating conditions. You may see water returning to the pool, a spa spillway flowing, or a water feature operating. These observations help confirm that equipment can circulate water.
They don't provide the same information as a dedicated pressure test. A system can move water and still have a slow leak at a joint, fitting, or underground section. Equipment operation also depends on valves, suction conditions, air in the system, and pump settings.
The contractor should verify operation separately after equipment installation. San Juan's published process places pool equipment at step 12 and interior finish at step 14, so equipment operation and pre-finish plumbing verification should remain distinct checkpoints.
A pressure test checks the installed lines
Pressure testing focuses on the integrity of the pipes and connections. It uses a gauge or another approved testing setup to observe whether the isolated system maintains the required condition.
Do not remove caps, change valves, add compressed air, or attempt to repeat the test without professional direction. Incorrect testing can damage components or create a safety hazard. A homeowner's role is to ask questions, review the records, and confirm that corrections are completed before finish installation.
Cape Coral pool features need line-by-line attention
Custom pools and spas often include more plumbing than a standard rectangular pool. A feature that looks small at the surface may require a separate line, valve, pump connection, or return path.
Water features add more inspection points
Waterfalls, fountains, deck jets, bubblers, and fire features can change the plumbing layout. San Juan's published feature information also mentions spas, tanning ledges, bubble features, salt chlorination, and auto-fill systems.
Each feature should appear in the plans and in the contractor's explanation of what was tested. Ask whether the line is complete, capped, connected, or scheduled for a later test. Those details matter before the interior finish covers the shell.
A raised spa also deserves careful review. Its suction, returns, spillway, and therapy jets may not share the same path as the main pool. Confirm that the pool and spa circuits were considered separately where the design requires it.
Renovations require a different conversation
A remodel may involve existing plumbing, new fittings, relocated returns, or new equipment. In that case, ask the contractor to distinguish original lines from newly installed work.
The inspection should address the areas changed by the renovation. Existing plumbing may have its own condition and history, so a new test does not automatically certify every older component.
For examples of local construction and renovation work, homeowners can review the company's completed pool renovation projects in Cape Coral and Ft Myers.
Questions to ask before approving the next step
A short site meeting can clear up most uncertainty. Ask these questions before the finish crew begins:
Questions about the test
- Which plumbing sections were tested?
- Were the pool, spa, water features, and equipment connections checked separately?
- What pressure and duration did the contractor use?
- Which standard, project requirement, or manufacturer instruction established those conditions?
- What reading was recorded at the beginning and end?
- Did any line require repair or retesting?
- Were any lines excluded, capped, or scheduled for later completion?
The contractor should answer consistently with the plans. If the answer is vague, request clarification before the finish is installed.
Questions about the handoff
- Can I receive the pressure-test record?
- Can I see photos or the marked plumbing plan?
- Are all repairs complete?
- Has the repaired line been retested?
- Which inspections remain before the pool is filled?
- Who will confirm that the interior finish area is ready?
Keep the approval process in writing. An email confirming the test status and remaining work can prevent misunderstandings between the plumbing, finish, and equipment crews.
You can also contact a Cape Coral pool builder to discuss project-specific questions before construction reaches the finish stage.
Key Takeaways
- Pressure testing checks plumbing integrity before the pool interior covers the shell.
- Running the pump is an equipment check, not a substitute for pressure testing.
- The inspection should include pool, spa, suction, return, and water-feature lines that appear in the plans.
- Ask for the test method, pressure, duration, readings, date, result, and any exclusions.
- Repairs should be completed and retested before plaster, pebble, tile, or another interior finish begins.
- Homeowners should not perform their own compressed-air or pressure test as a replacement for professional work.
Frequently Asked Questions
When should pool plumbing be pressure tested?
Testing should occur after the relevant plumbing is installed and accessible, but before the interior finish covers the shell. If a line is incomplete or changed later, ask whether it needs a separate test.
What pressure should a pool plumbing test use?
There is no single number to assume for every pool project. The contractor should explain the selected pressure and connect it to the project requirements, applicable standards, equipment guidance, or established testing procedure.
Does a pressure test guarantee there will never be a leak?
No. It documents the condition of the tested plumbing at that stage of construction. Later work, equipment changes, movement, or aging can create new problems.
Can a homeowner perform the test?
A homeowner can review the setup and records, but DIY testing should not replace professional work. Do not introduce compressed air, remove caps, or change valves without direction from the pool contractor.
Conclusion
Pool plumbing pressure testing gives Cape Coral homeowners a practical checkpoint before the interior finish hides the work. The most useful record identifies every tested line, documents the test conditions and readings, and shows that any repairs were completed and retested.
Before approving the finish, compare the plumbing record with the plans and ask about every pool, spa, and water-feature connection. That small review can protect the construction process and make the final handoff easier to understand.