
Gunite Pool Checklist for Southwest Florida Handoffs
A finished pool can look ready while important work remains. Use this gunite pool checklist before signing final acceptance, especially when your Southwest Florida project includes a screened enclosure, automation, water features, or a new deck.
The gunite shell is only one part of the handoff. You also need to confirm the interior finish, equipment, drainage, safety barriers, permits, startup instructions, and warranty documents. Start with the project record, then inspect the pool with your builder before treating it as complete.
Key Takeaways
- Confirm required permits, final inspections, and approval to fill before accepting the pool.
- Inspect the plaster or pebble finish, tile, coping, deck slopes, drains, lights, and screen enclosure.
- Get written startup instructions for brushing, circulation, water testing, and chemical adjustments.
- Have a qualified pool or electrical professional verify equipment, bonding, grounding, GFCI protection, and automation.
- Record unfinished items in writing, with a person responsible and a completion date.
- Ask how to secure the pool, equipment, chemicals, and enclosure before a tropical storm or hurricane.
Confirm Approval Before Final Acceptance
Your final walkthrough should happen when the pool is clean, accessible, and safe to inspect. If the pool has not been filled, do not authorize filling until your builder confirms the required electrical and barrier inspections are complete.
San Juan Pools & Spas describes construction as a sequence that includes engineering and permits, shell work, plumbing, tile, decking, screen installation, equipment, electrical work, interior finish, filling, and homeowner instruction. Review our custom pool construction process alongside your own contract and inspection records.
Verify permits and inspections
Ask your builder for copies of the permit information and completed inspection records that apply to your property. Requirements and inspection order can vary by city and county, so confirm local details with your builder and the authority having jurisdiction.
Use this checklist:
- Required building, electrical, plumbing, gas, or screen permits are closed or ready for final review.
- Final electrical inspection is complete.
- Pool barrier or safety inspection is complete.
- Any required screen-enclosure bonding inspection is complete.
- The builder confirms whether the pool may be filled.
- Equipment locations match the approved plan.
Florida safety materials emphasize completing final electrical and barrier inspections before filling. Local officials may use different inspection names or sequences, so keep the written confirmation with your project records.
Create a written punch list
Walk the entire project with the builder. Mark every unfinished, damaged, stained, loose, cracked, or nonworking item on a written list.
Include photographs and note the location of each issue. A punch list might include a chipped coping stone, missing sealant, an untrimmed screen panel, a slow drain, a light that does not operate, or an automation feature that has not been programmed.
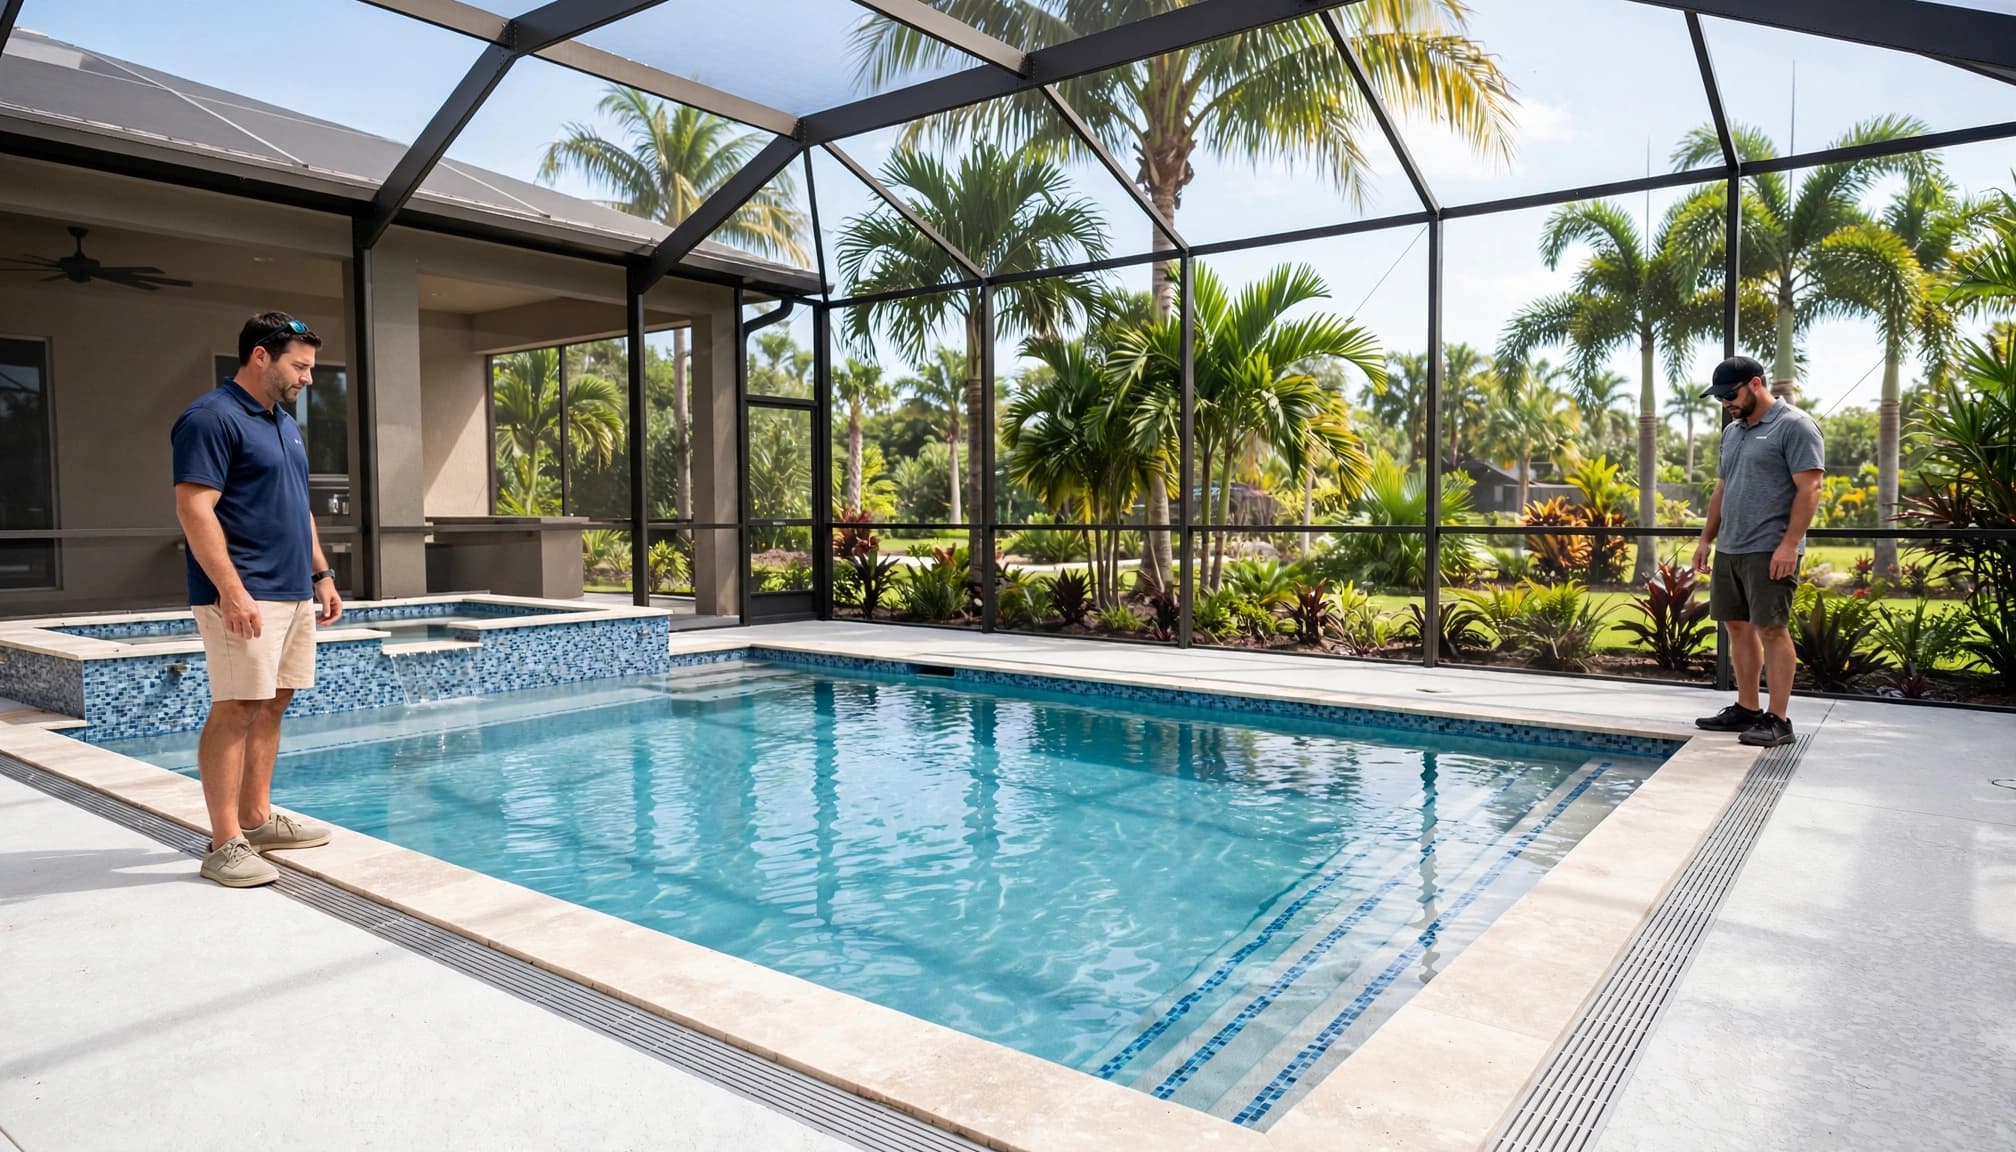
Inspect the Finish, Tile, Coping, Deck and Drainage
The interior finish needs careful attention because plaster and pebble surfaces change during startup. Small variations can occur, but visible defects should be discussed before acceptance.
Review plaster or pebble finish
Inspect the pool in good daylight with the water clear enough to see the floor, benches, steps, sunshelf, spa, and corners.
- The finish covers the entire shell without exposed gunite.
- Steps and benches have an even, comfortable surface.
- There are no sharp areas, loose pebbles, hollow-sounding spots, or obvious cracks.
- Drain covers, return fittings, light niches, and skimmer openings sit securely.
- Water features operate without spraying onto the deck or screen.
- The spa spills, bubblers, deck jets, or fire features match the approved design.
A pebble finish may have natural color variation, while plaster can show shading during curing. Ask the builder to identify acceptable variation versus a repairable defect. Do not acid wash, drain, brush aggressively, or add chemicals outside the written startup plan.
Check tile, coping, deck and drainage
Run your hand lightly over tile and coping edges. Look for loose pieces, uneven joints, missing grout, sharp corners, and stains caused by construction materials.
On the deck, check that:
- Coping is secure and consistent around the pool.
- Waterline tile is level and properly grouted.
- Expansion joints and sealant are complete where specified.
- Deck surfaces are clean and free of construction damage.
- Drainage moves rainwater away from the pool and house.
- Deck drains, channel drains, and downspouts are open.
- The deck does not hold standing water after cleaning or rain.
Drainage deserves extra attention in Cape Coral, Fort Myers, Bonita Springs, Estero, and other areas where heavy rain can quickly expose grading problems. Compare the completed work with the approved plans and review Southwest Florida pool construction projects for examples of finish, tile, coping, and water-feature details.
Follow the New-Finish Startup Plan
A new gunite pool needs a controlled startup. The shell, plaster, or pebble finish, fill water, weather, and circulation all affect the early care period.
Get written brushing and circulation instructions
Ask the builder or finish contractor for a written schedule covering the first days and weeks. It should state when to start the pump, how often to brush, which brush to use, and when normal cleaning can begin.
During handoff, confirm:
- The pump runs at the required speed and schedule.
- Returns circulate water across the entire pool.
- The builder explains whether brushing is required and where to brush.
- Automatic cleaners are approved for the new finish.
- The builder explains what to do after heavy rain, a pump outage, or a power interruption.
Do not assume a generic online startup schedule applies to your finish. Plaster and pebble products may have different care requirements.
Confirm water testing and chemistry instructions
Get the target ranges and testing schedule in writing. The builder should explain which test results require a phone call before you make an adjustment.
Ask who handles the initial water balance and whether the builder provides a startup visit. Confirm instructions for fill-water concerns, salt systems, mineral systems, heaters, and any water-feature equipment. Early chemistry mistakes can stain a new finish or damage equipment, so use the builder's instructions and the finish manufacturer's requirements.
Test Equipment, Automation and Electrical Safety
Have the builder demonstrate every system instead of handing you a remote or app without an explanation. Keep a written record of model numbers, settings, passwords, and service contacts.
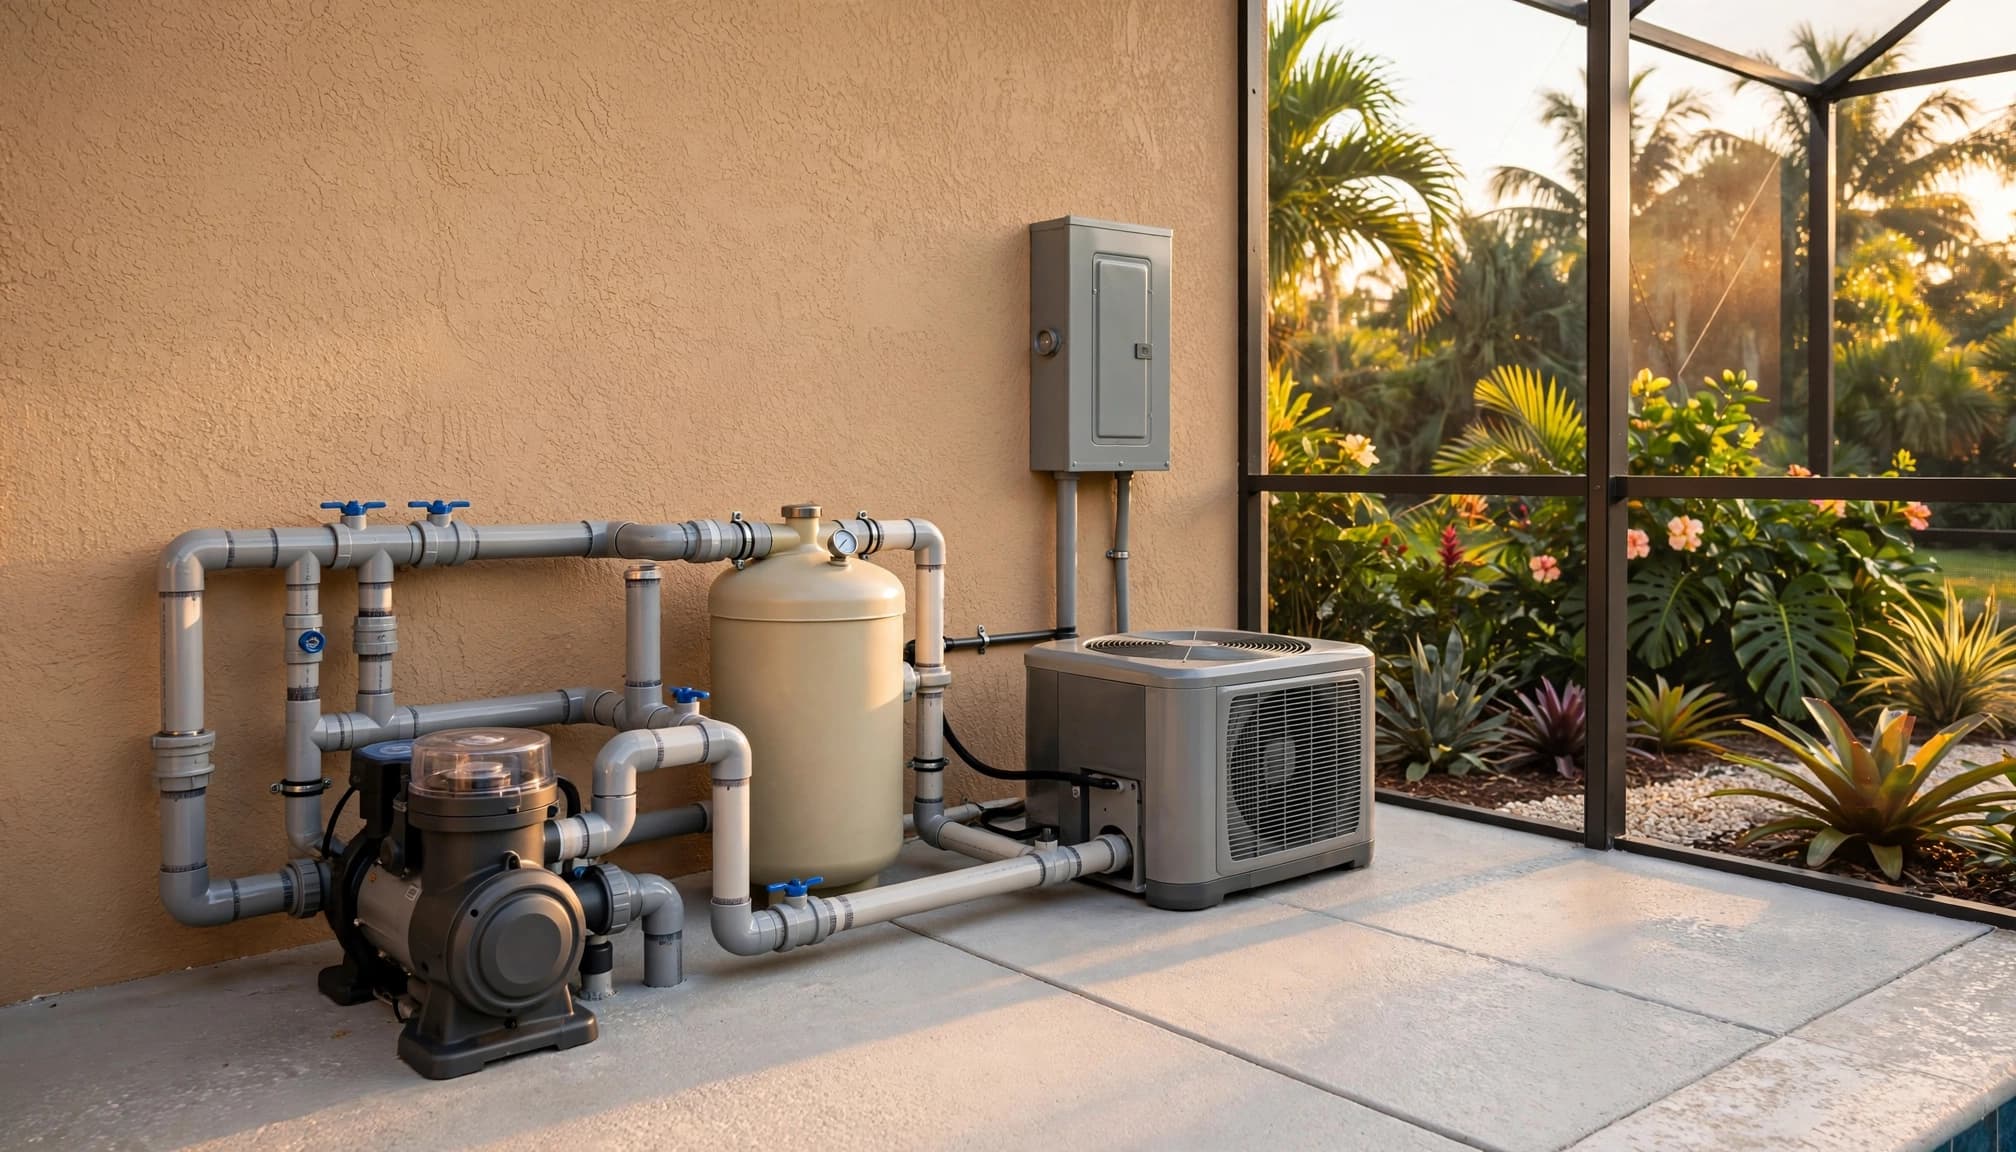
Run pumps, filters, heaters and controls
At the equipment pad, verify that each component operates as designed.
- The circulation pump starts, stops, and changes speed correctly.
- The filter pressure reading is explained and recorded.
- Valves move correctly between pool, spa, drain, and water features.
- The heater or heat pump starts only under the approved conditions.
- The salt system, chemical feeder, or sanitizer system is configured correctly.
- Automation controls work at the panel, remote, and app if provided.
- Pool and spa temperatures display correctly.
- Lighting scenes and water features operate without nuisance tripping.
- Plumbing connections show no leaks while equipment runs.
A qualified pool professional should set flow rates, heater operation, chemical systems, and automation schedules. A licensed electrical professional should handle electrical faults, wiring changes, breaker issues, and equipment that trips protection.
Verify bonding, grounding and GFCI protection
Do not open electrical equipment or test wiring yourself. Ask the qualified professional to confirm the required bonding, grounding, disconnects, and GFCI protection for the pump, lights, receptacles, heater, automation equipment, and nearby metal components.
Florida pool electrical materials address items such as pumps, filters, heaters, ladders, fences, diving boards, equipment enclosures, grounding, and GFCI outlets. Metal components near the pool may also require bonding. Your electrician should document the inspection results and explain which breaker controls each system.
Inspect Screens, Gates and Safety Barriers
A screened enclosure can provide useful separation, but it does not automatically meet every local barrier requirement. Confirm the treatment of your enclosure with the builder and local building authority.
Check the enclosure and gates
Walk the entire perimeter and inspect every opening.
- Screen panels are tight, intact, and free of large gaps.
- The enclosure frame is secure and undamaged.
- Doors close and latch without being held.
- Gate hardware is mounted at the required height.
- Doors do not swing into a position that defeats the barrier.
- Spaces beneath panels, doors, and the enclosure remain within local limits.
- Furniture, planters, toys, and equipment cannot be used to climb over the barrier.
Florida barrier summaries commonly reference a 48-inch minimum height, openings that cannot pass a 4-inch sphere, and elevated gate latches. These are items to verify, not a substitute for local approval.
Confirm inspection status
Ask whether the screen enclosure needs a separate inspection or an additional electrical final for bonding. Keep the approved barrier and electrical records with your closing documents.
If a gate, latch, screen panel, fence section, or door fails inspection, correct it before final acceptance. Do not rely on a verbal promise that it will be fixed later.
Prepare for Storms and Power Outages
Storm preparation is a handoff issue in Southwest Florida, even when the pool is complete. Ask your builder for project-specific instructions because equipment, enclosure design, landscaping, and flood exposure vary.
Secure the pool area
Before the next named storm, confirm where to store loose furniture, umbrellas, toys, removable water-feature parts, and chemicals. Ask whether furniture should be placed in the pool. Never assume that is safe for the finish or equipment.
Also identify:
- The main pool-equipment breaker.
- The automation panel and emergency shutoff.
- The location for storing chemicals in a dry, secure area.
- The proper water level during heavy rain.
- The procedure for a flooded equipment pad.
- The contact for screen, electrical, and equipment repairs.
Never operate electrical equipment while standing in floodwater. A qualified professional should inspect flooded pumps, heaters, automation panels, and electrical components before restart.
Ask about wind and debris
Confirm how to secure screen doors and whether the builder recommends temporary protection for specific enclosure components. Keep drains and skimmers clear after a storm, but avoid climbing onto the enclosure or handling damaged wiring.
Collect Documents and Maintenance Instructions
Final acceptance should include more than a set of keys or an app login. Request a complete handoff folder, digitally or on paper.
Include:
- Final plans and approved equipment schedule.
- Permit and inspection records.
- Finish manufacturer and warranty information.
- Equipment manuals and model numbers.
- Pump, filter, heater, light, and automation warranties.
- Written startup and water-care instructions.
- Cleaning, filter, and seasonal maintenance schedules.
- Service contacts and emergency procedures.
- A completed punch list with correction dates.
Ask how often to clean the filter, where the pressure should normally read, when to inspect the pump basket, and which tasks require a licensed professional. Clarify whether warranty coverage depends on documented maintenance or approved service.
Do not sign a final release while safety defects, leaks, incomplete inspections, or nonworking equipment remain unresolved. If the builder needs another visit, schedule it in writing and keep the final payment terms tied to your contract.
FAQ: New Gunite Pool Handoffs
Can I fill the pool before the final inspection?
Confirm with your builder and local authority before filling. Florida pool safety materials state that final electrical and barrier inspections must be completed before the pool is filled. Your project may have additional local requirements or a different inspection sequence.
What should I do if the new finish looks uneven?
Photograph the area in daylight and contact the builder or finish contractor promptly. Plaster and pebble finishes can show color and texture variation during startup, but exposed shell, sharp areas, loose material, cracks, or other defects need professional review. Follow the written startup plan rather than draining or treating the pool yourself.
Which final checks require a professional?
Use a qualified pool professional for flow settings, heater operation, automation programming, chemical systems, leak diagnosis, and finish evaluation. Use a licensed electrician for bonding, grounding, GFCI protection, wiring, breaker problems, and electrical equipment faults. Homeowners can inspect visible finishes and document issues, but they should not open energized equipment or alter protective devices.
Final Acceptance Means a Complete Handoff
A new gunite pool is ready for acceptance when the visible work is complete, required inspections are approved, equipment operates correctly, and you have written care instructions. The strongest protection is a detailed punch list backed by photographs and clear correction dates.
Walk through the pool once more after repairs. Then keep the permits, warranties, startup records, and maintenance schedule together so your backyard investment is easier to protect through heavy rain, power outages, and hurricane season. For unresolved project questions, you can contact our Cape Coral pool builders.